I recently fixed up a pair of my favourite jeans that had split along the back pockets and knees and thought i would talk you through how you can do the same repair job on yours.
You will need
-fabric scissors
-ideally sewing machine
-iron
-as similar top stitching thread to the original jeans as possible- I use Gutterman Denim 1970
-a small piece of denim as similar to the original jeans as possible- in my case this was a mid weight stretch denim
-ruler
-pen/chalk
-pin
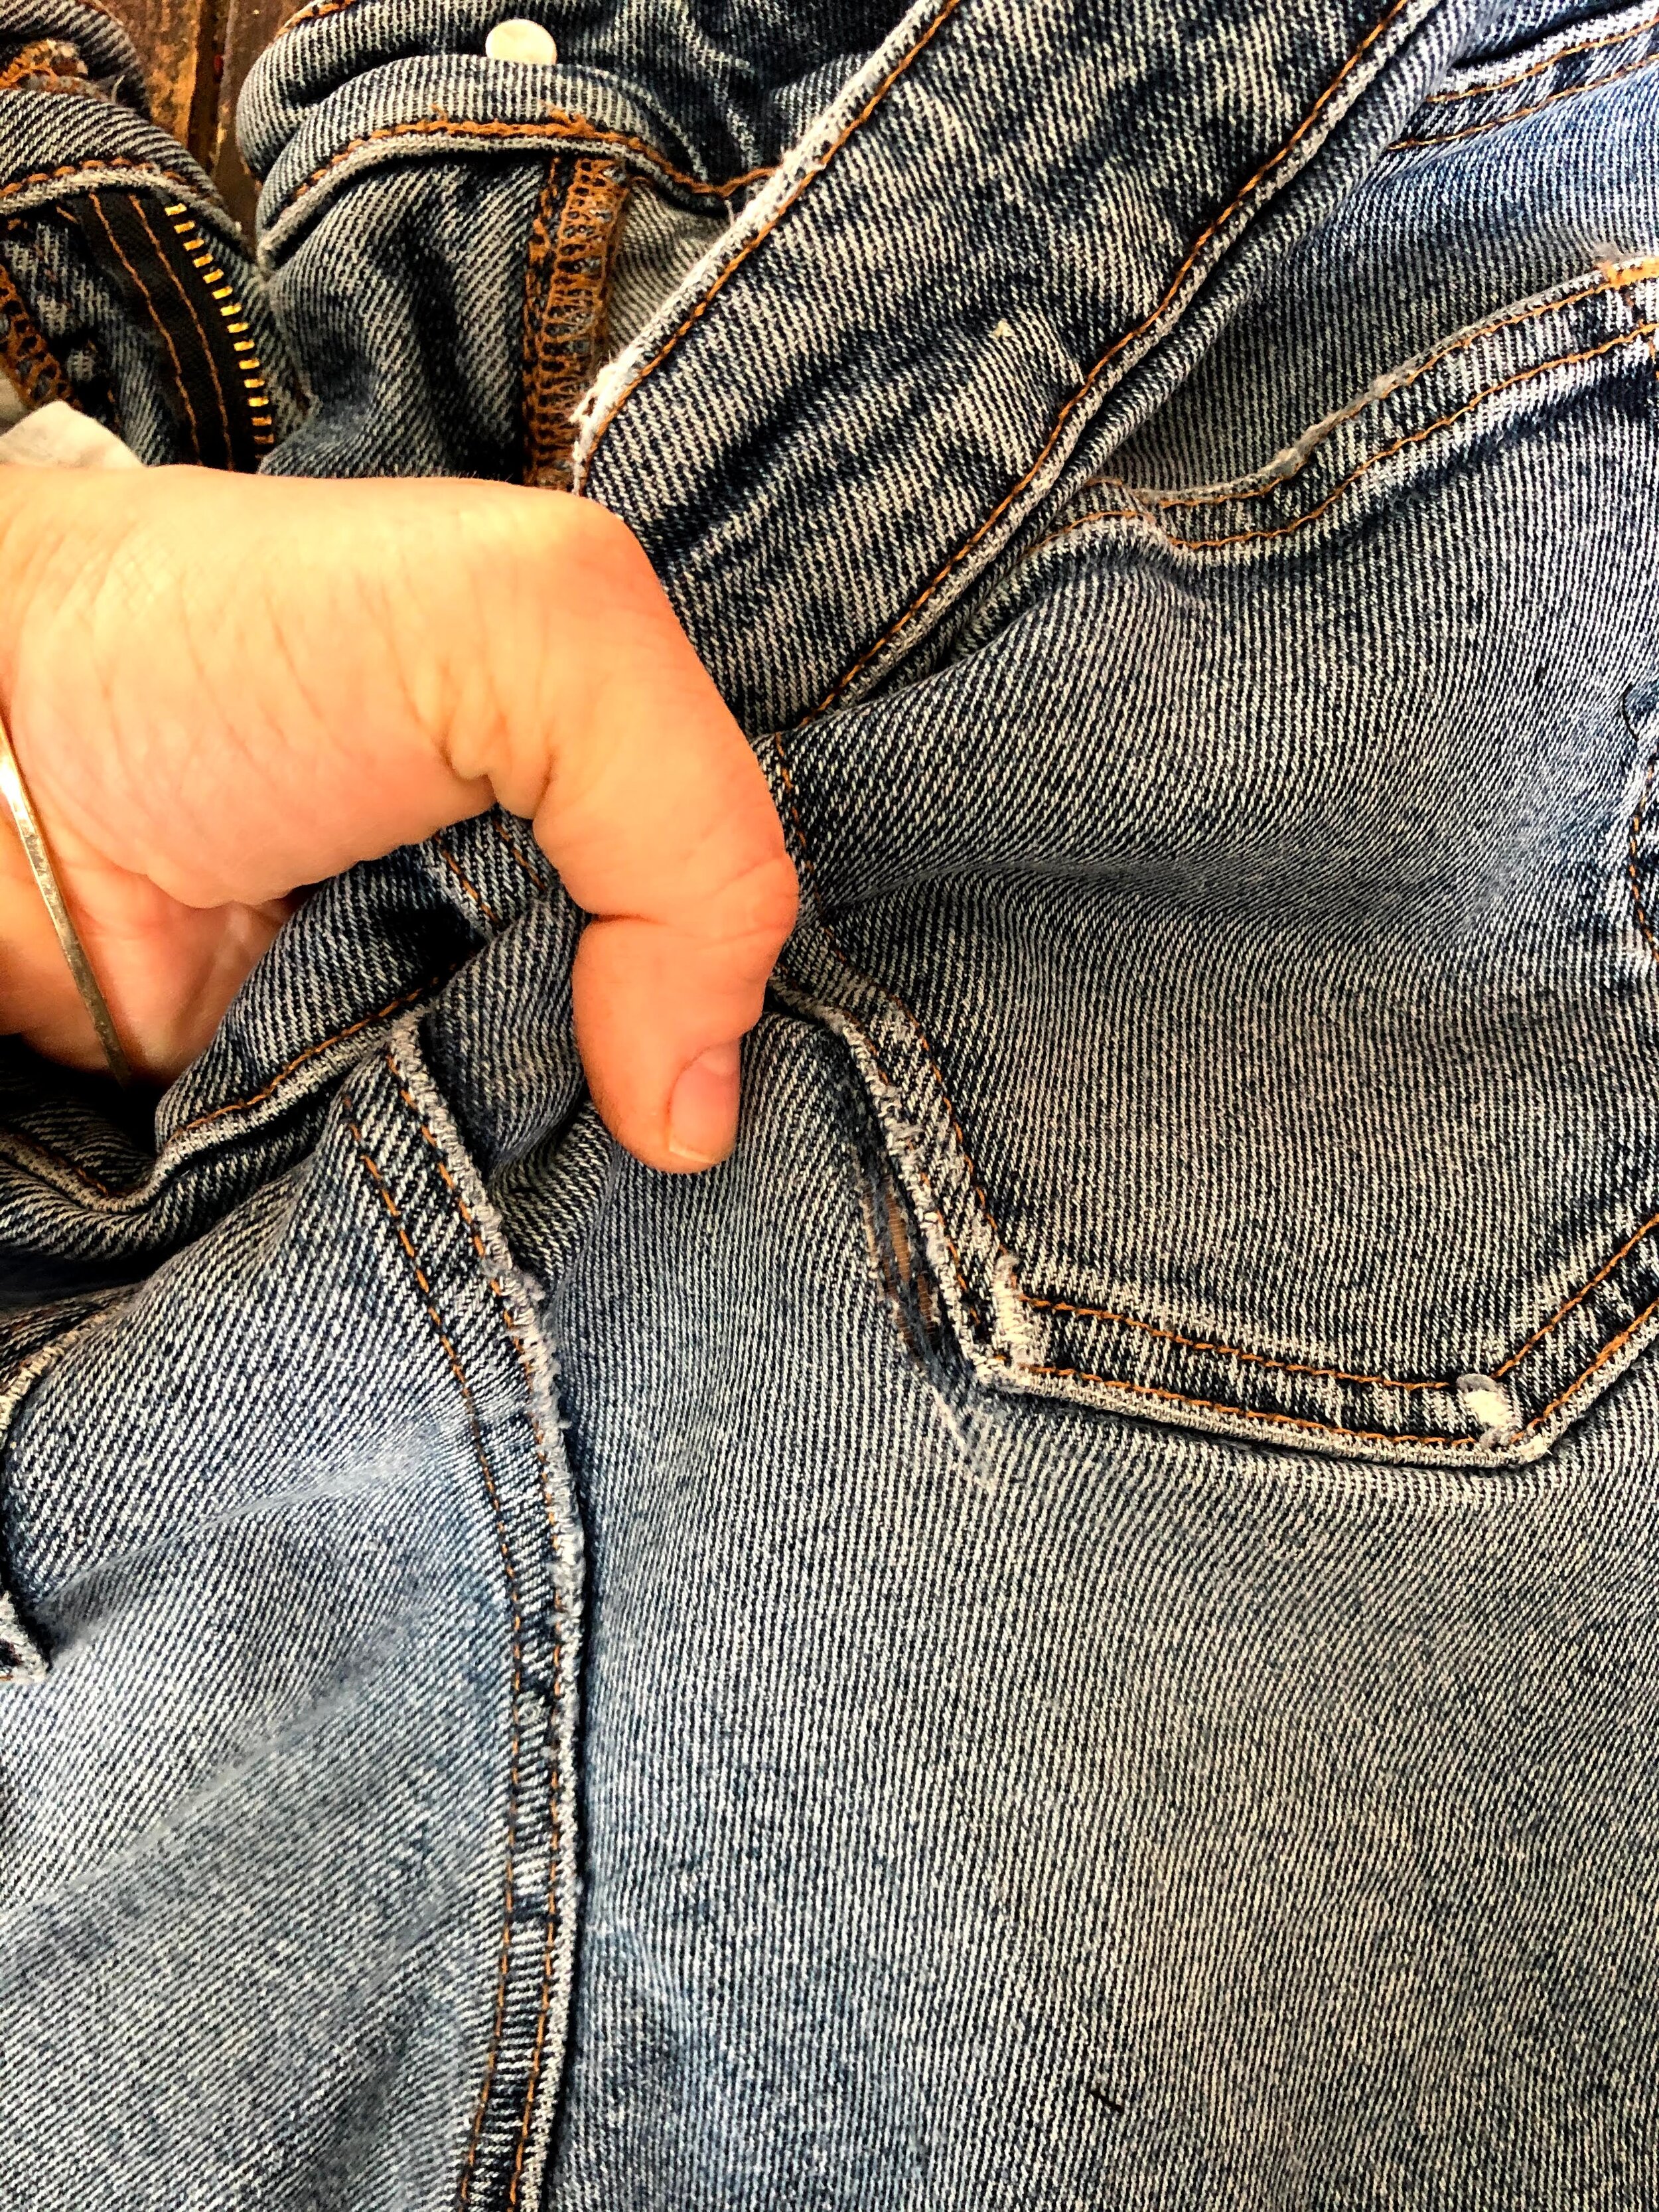
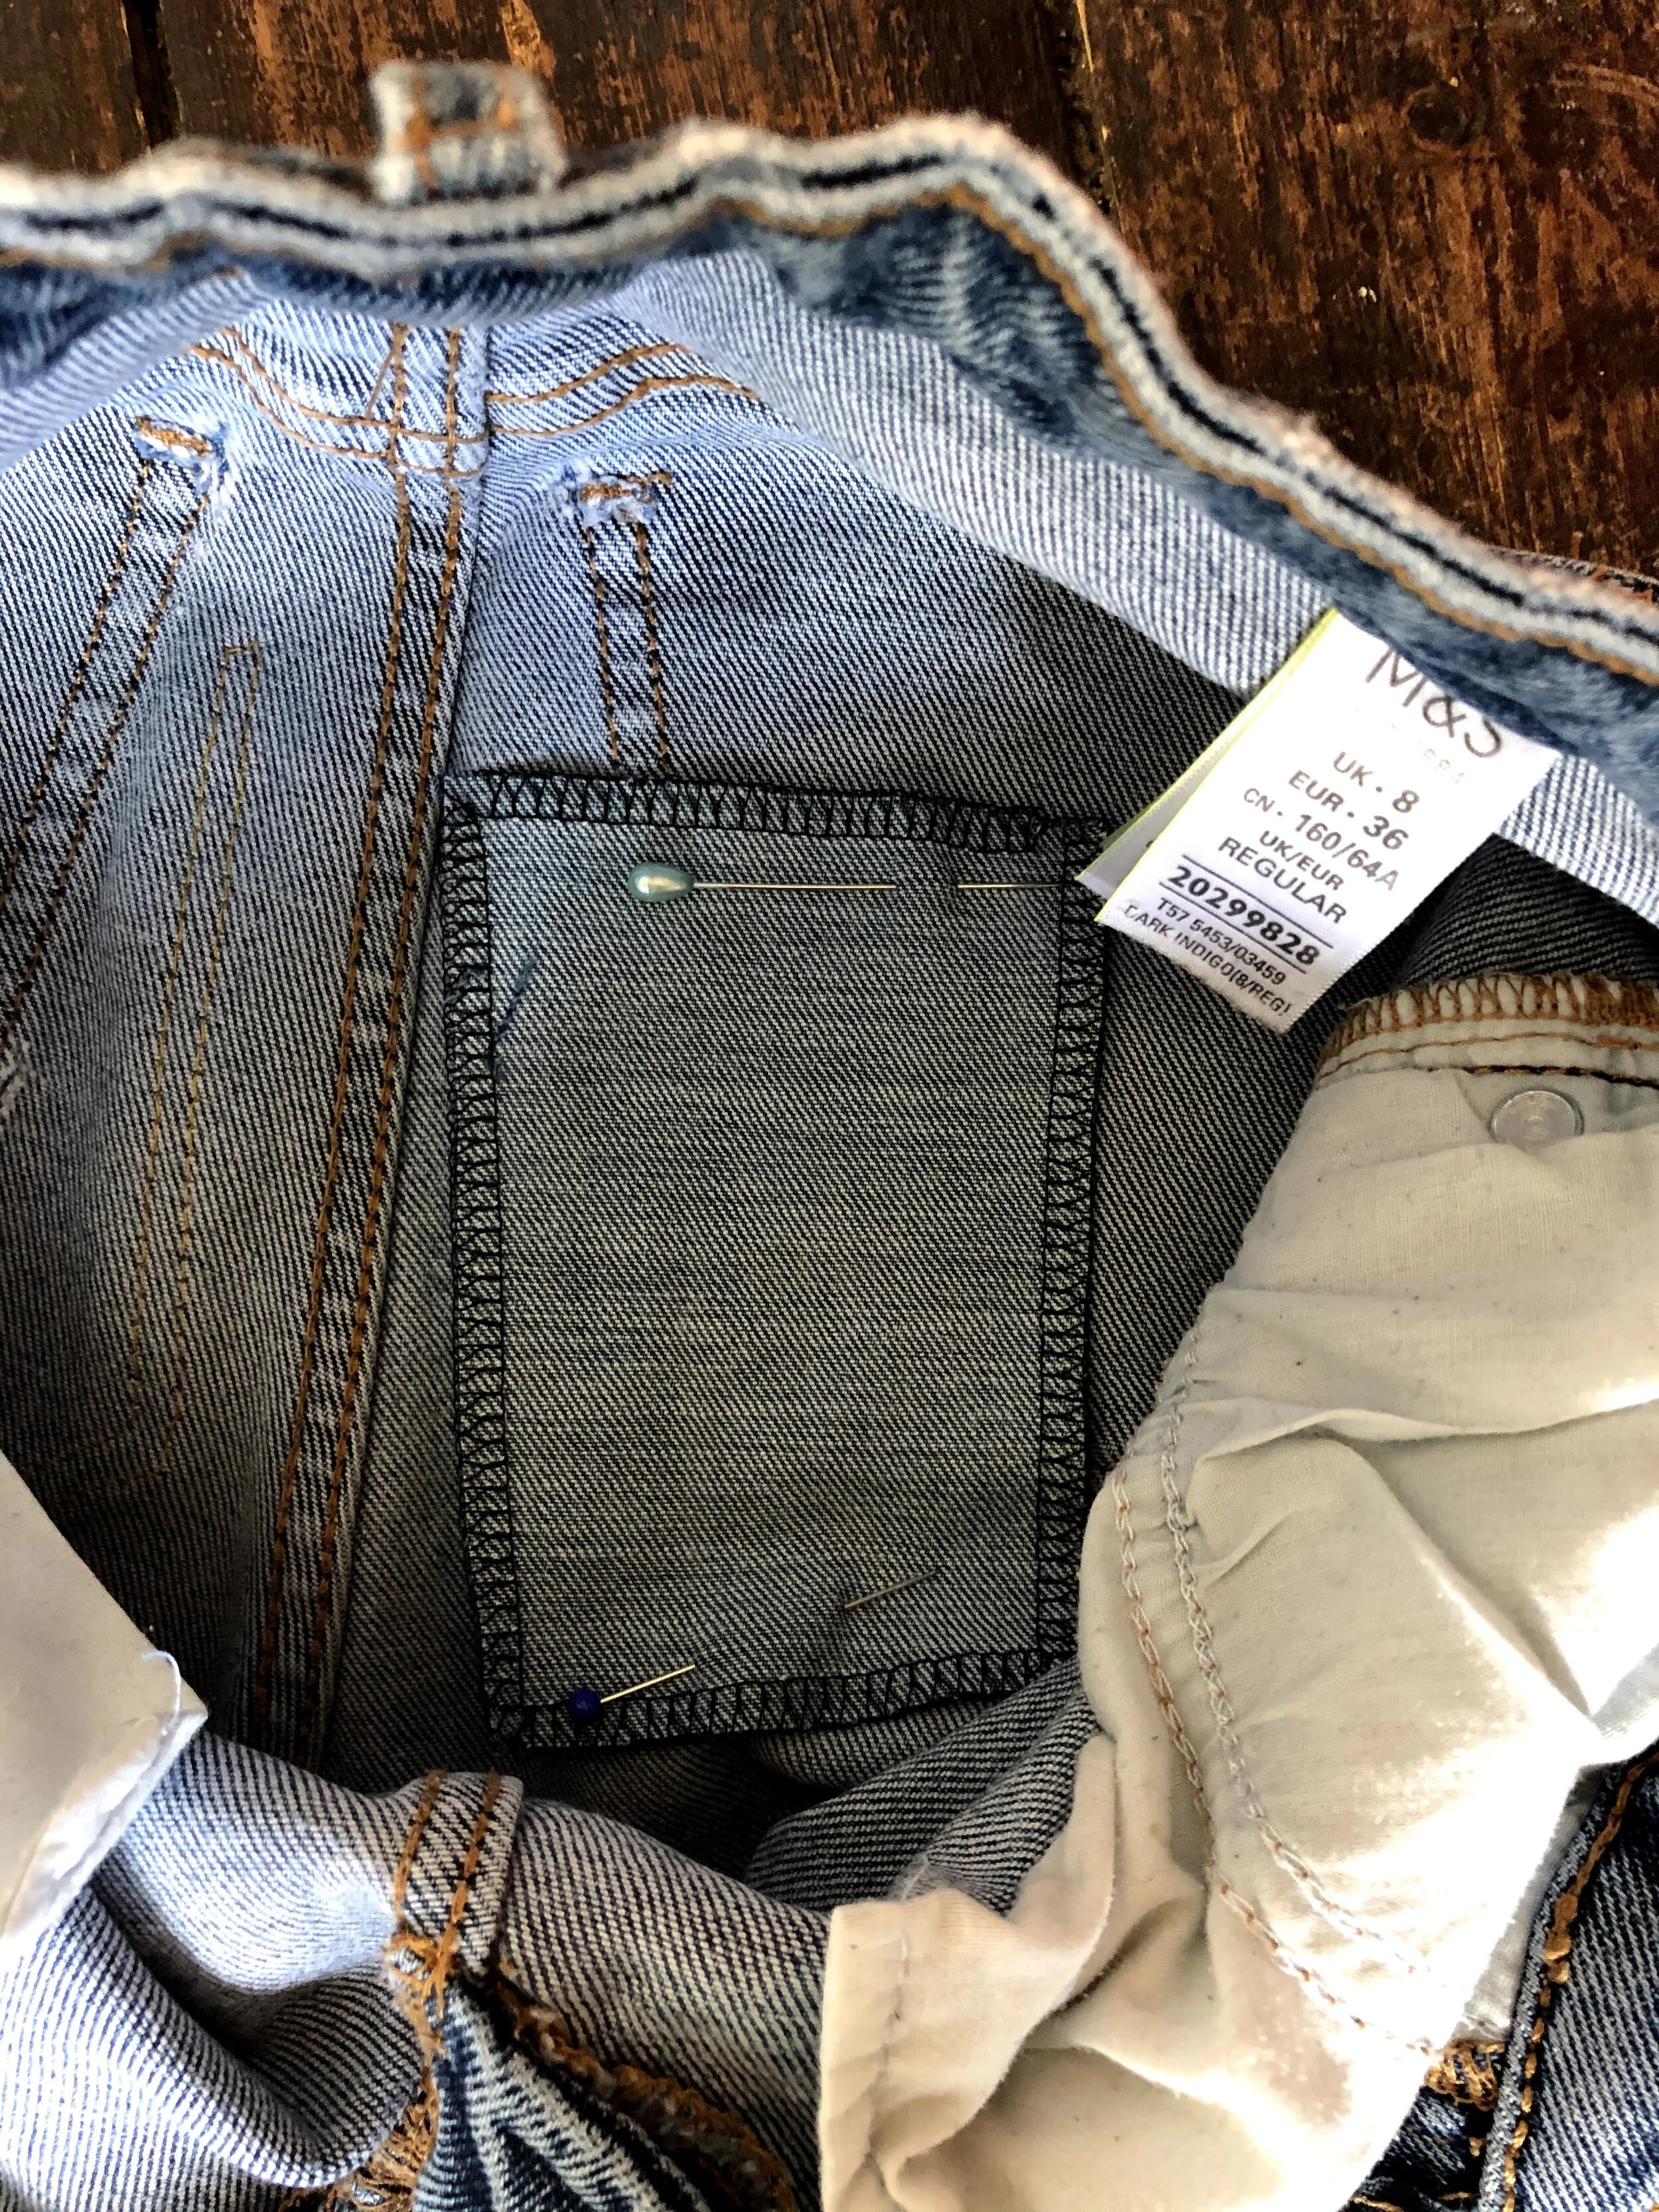
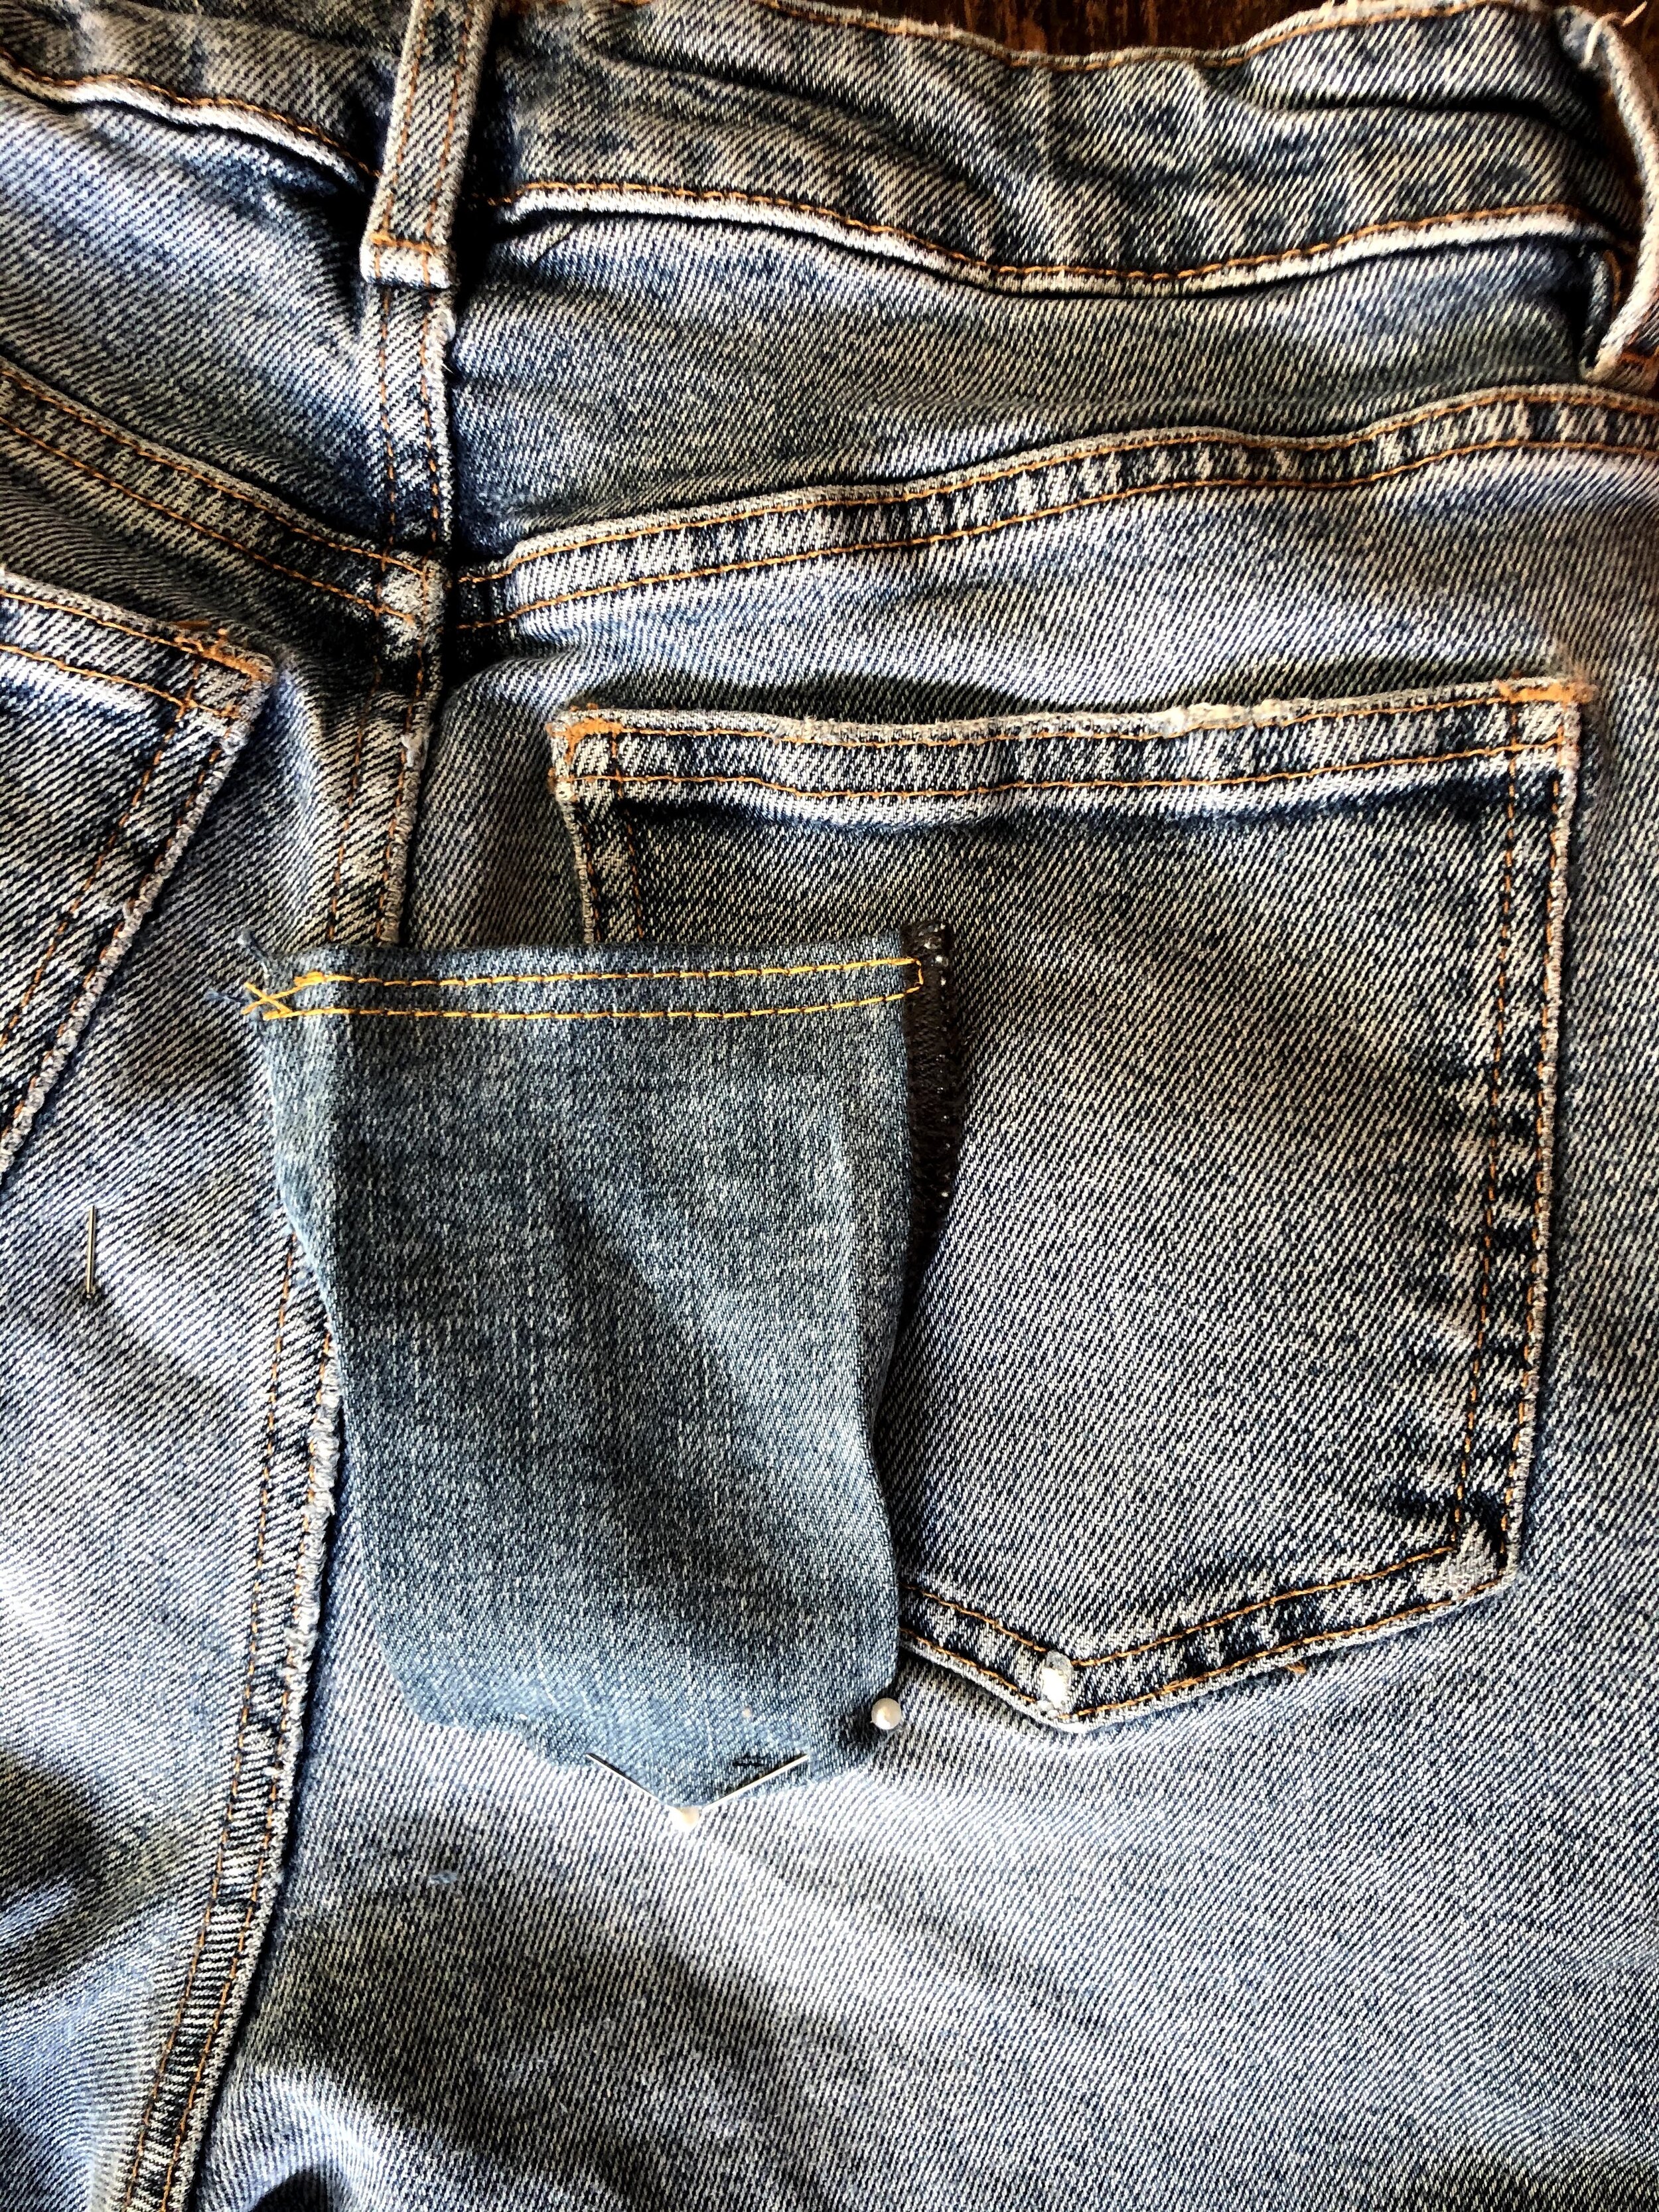
Both back pockets have ripped down the pocket. Where the pocket puts extra strain on the stretch denim this can often occur.
I am going to show you two ways to repair these rips; the first is a secret patch pocket where only the top stitching is visible and the second way is with a visible mini pocket placed over the rip.
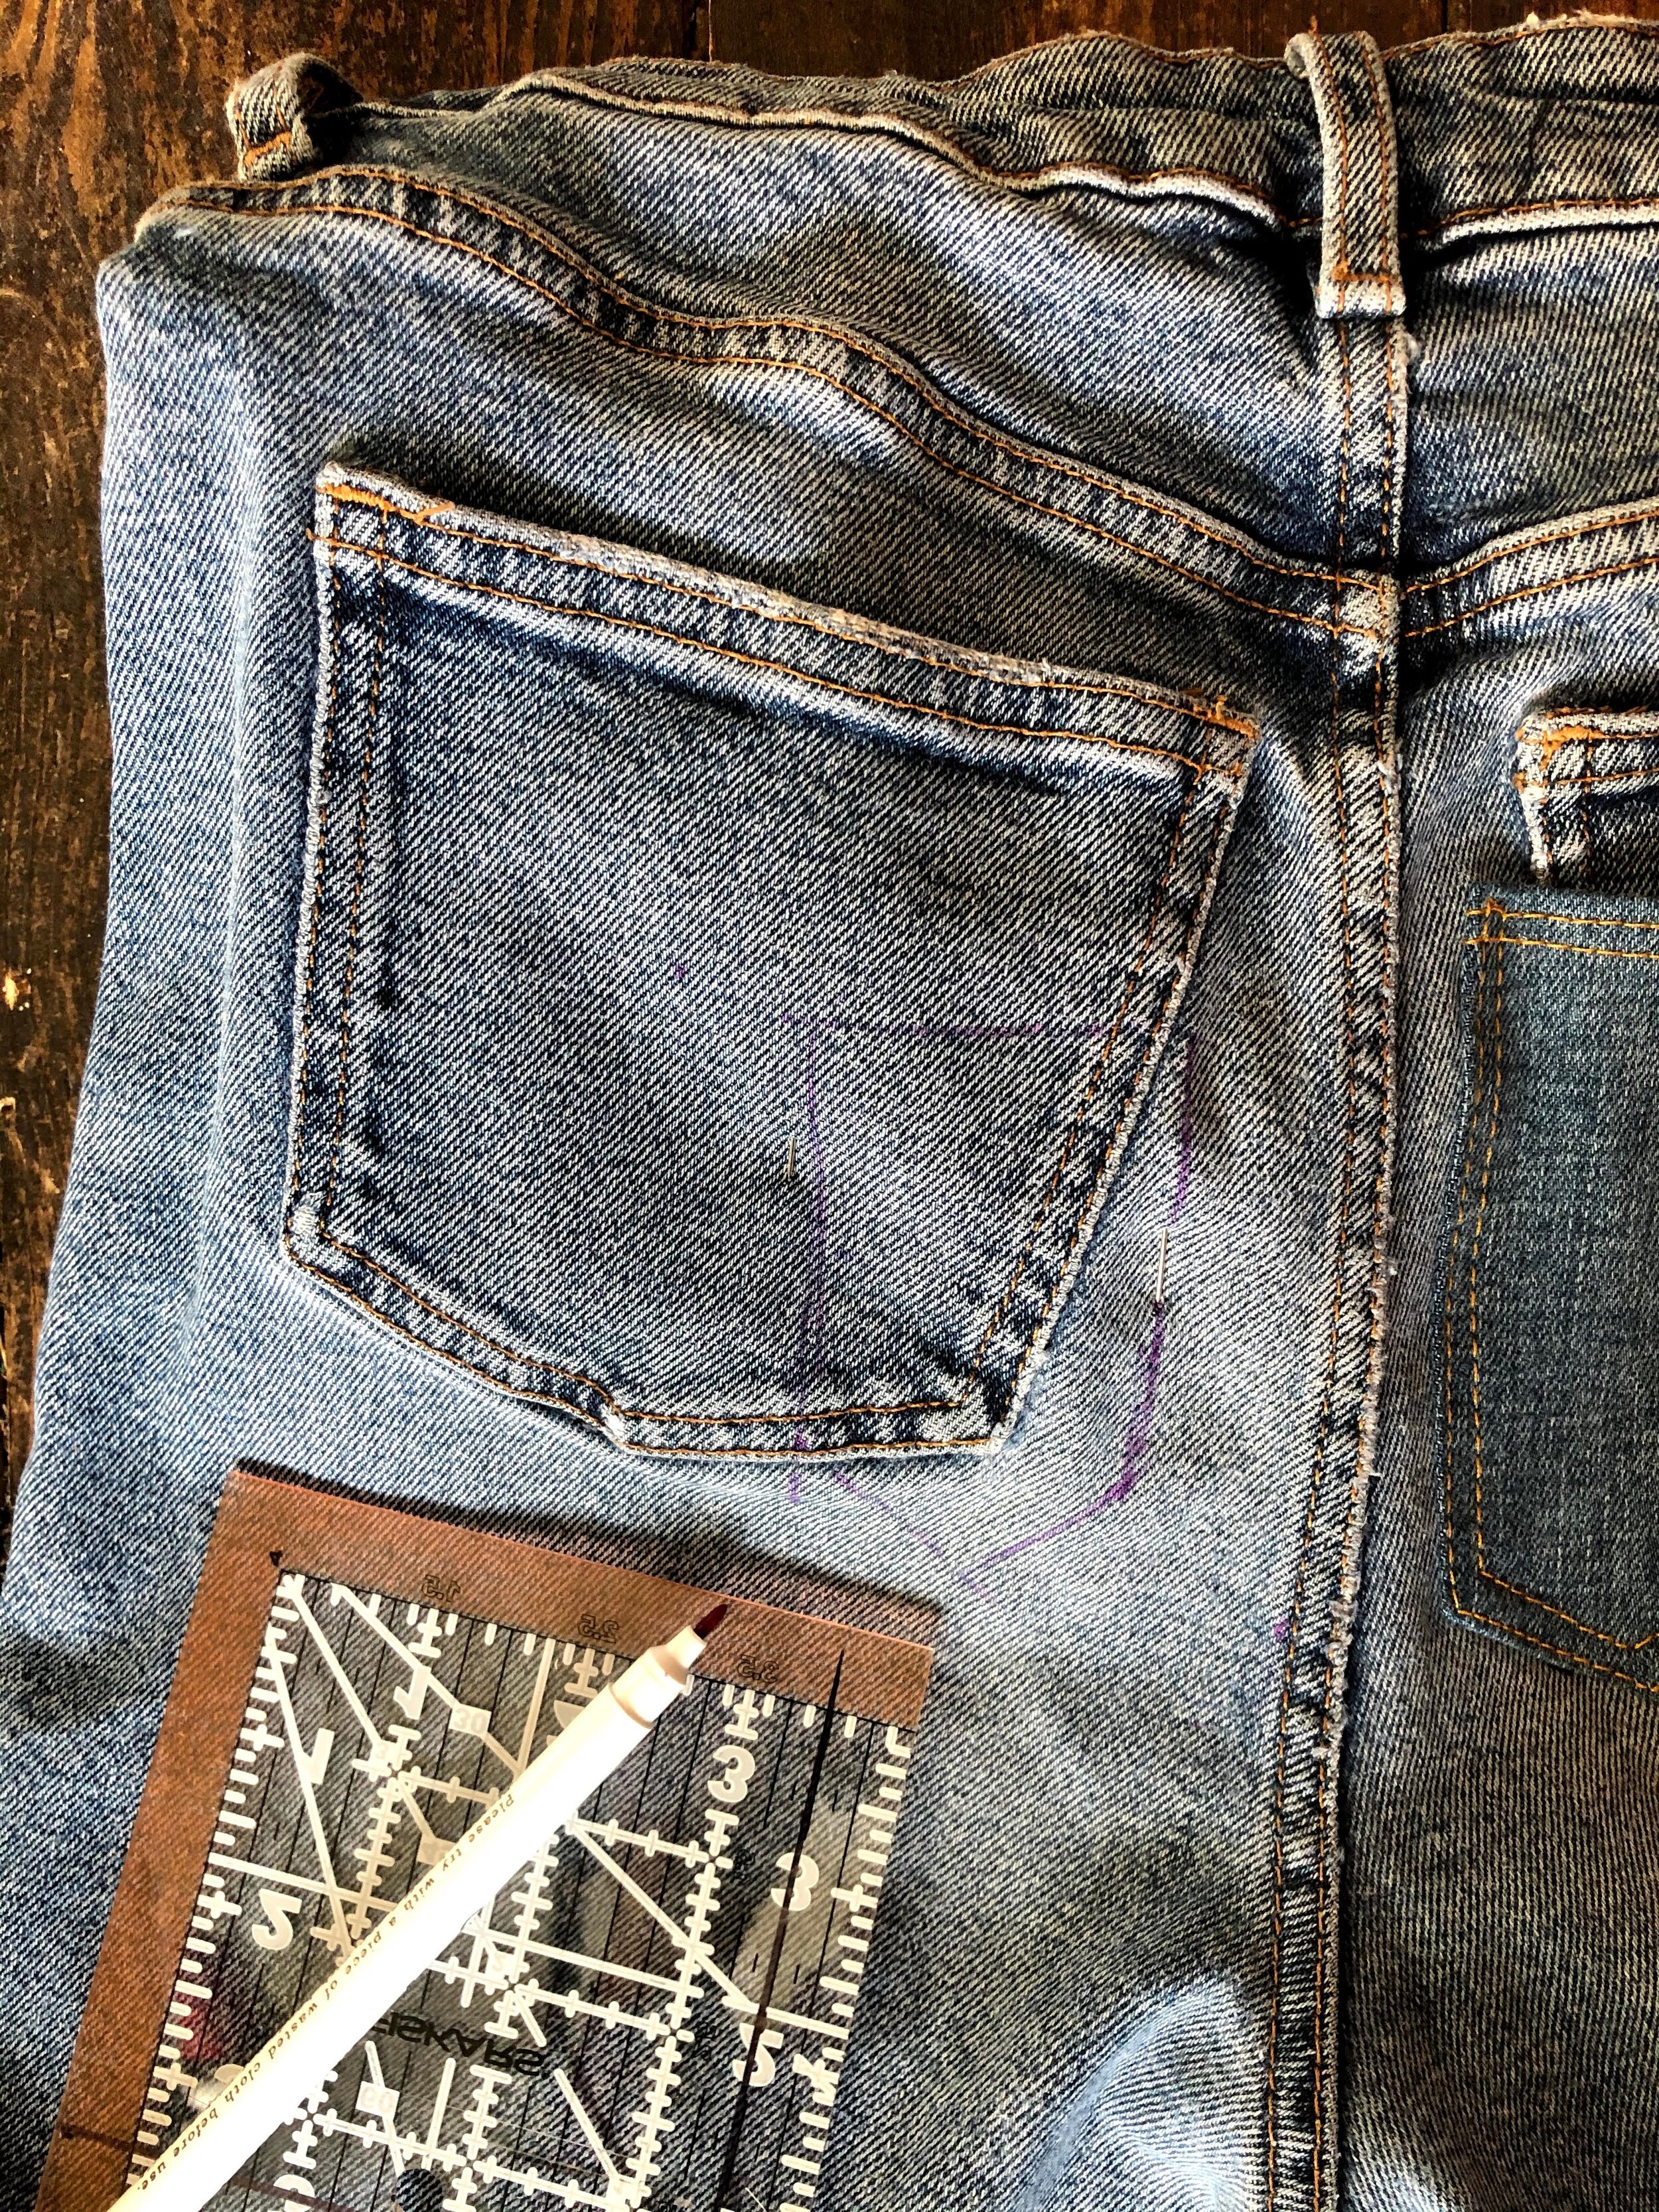
Step 1- work out the area that needs reinforcing. Using an erasable pen/chalk draw on a mini pocket shape that replicates the style of the original pocket. For my pocket that meant a straight top hem and pointed base.
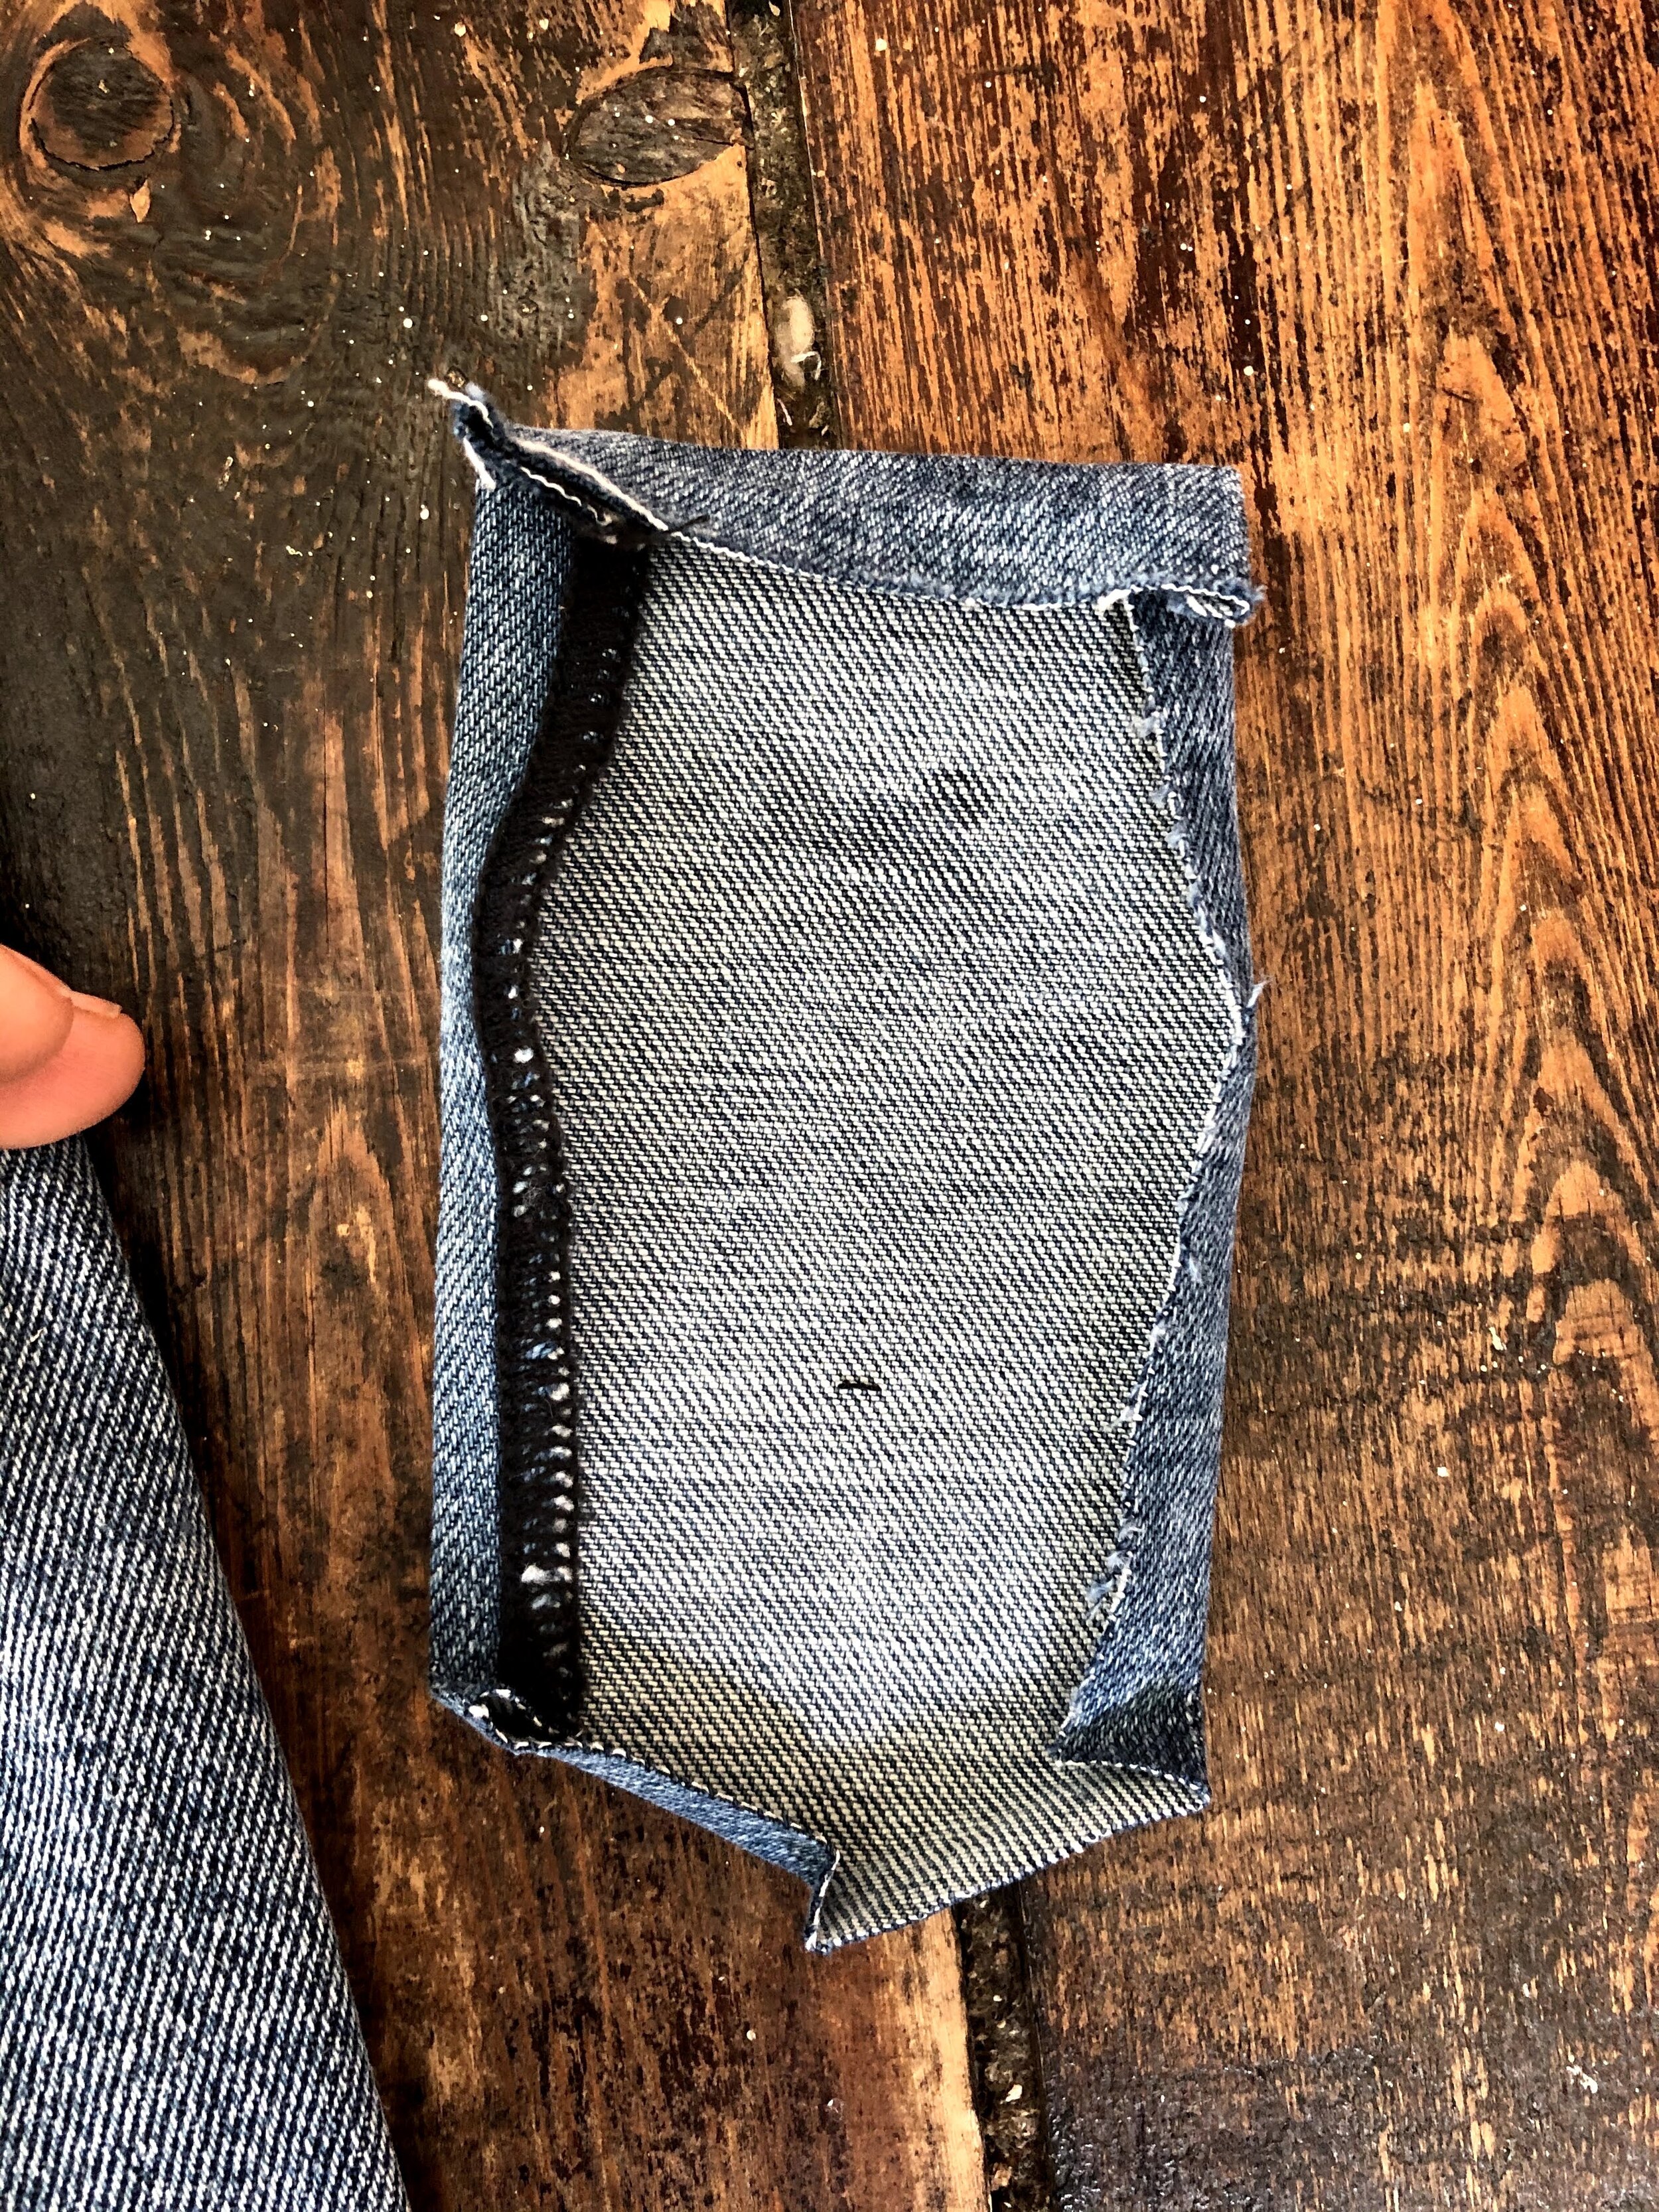
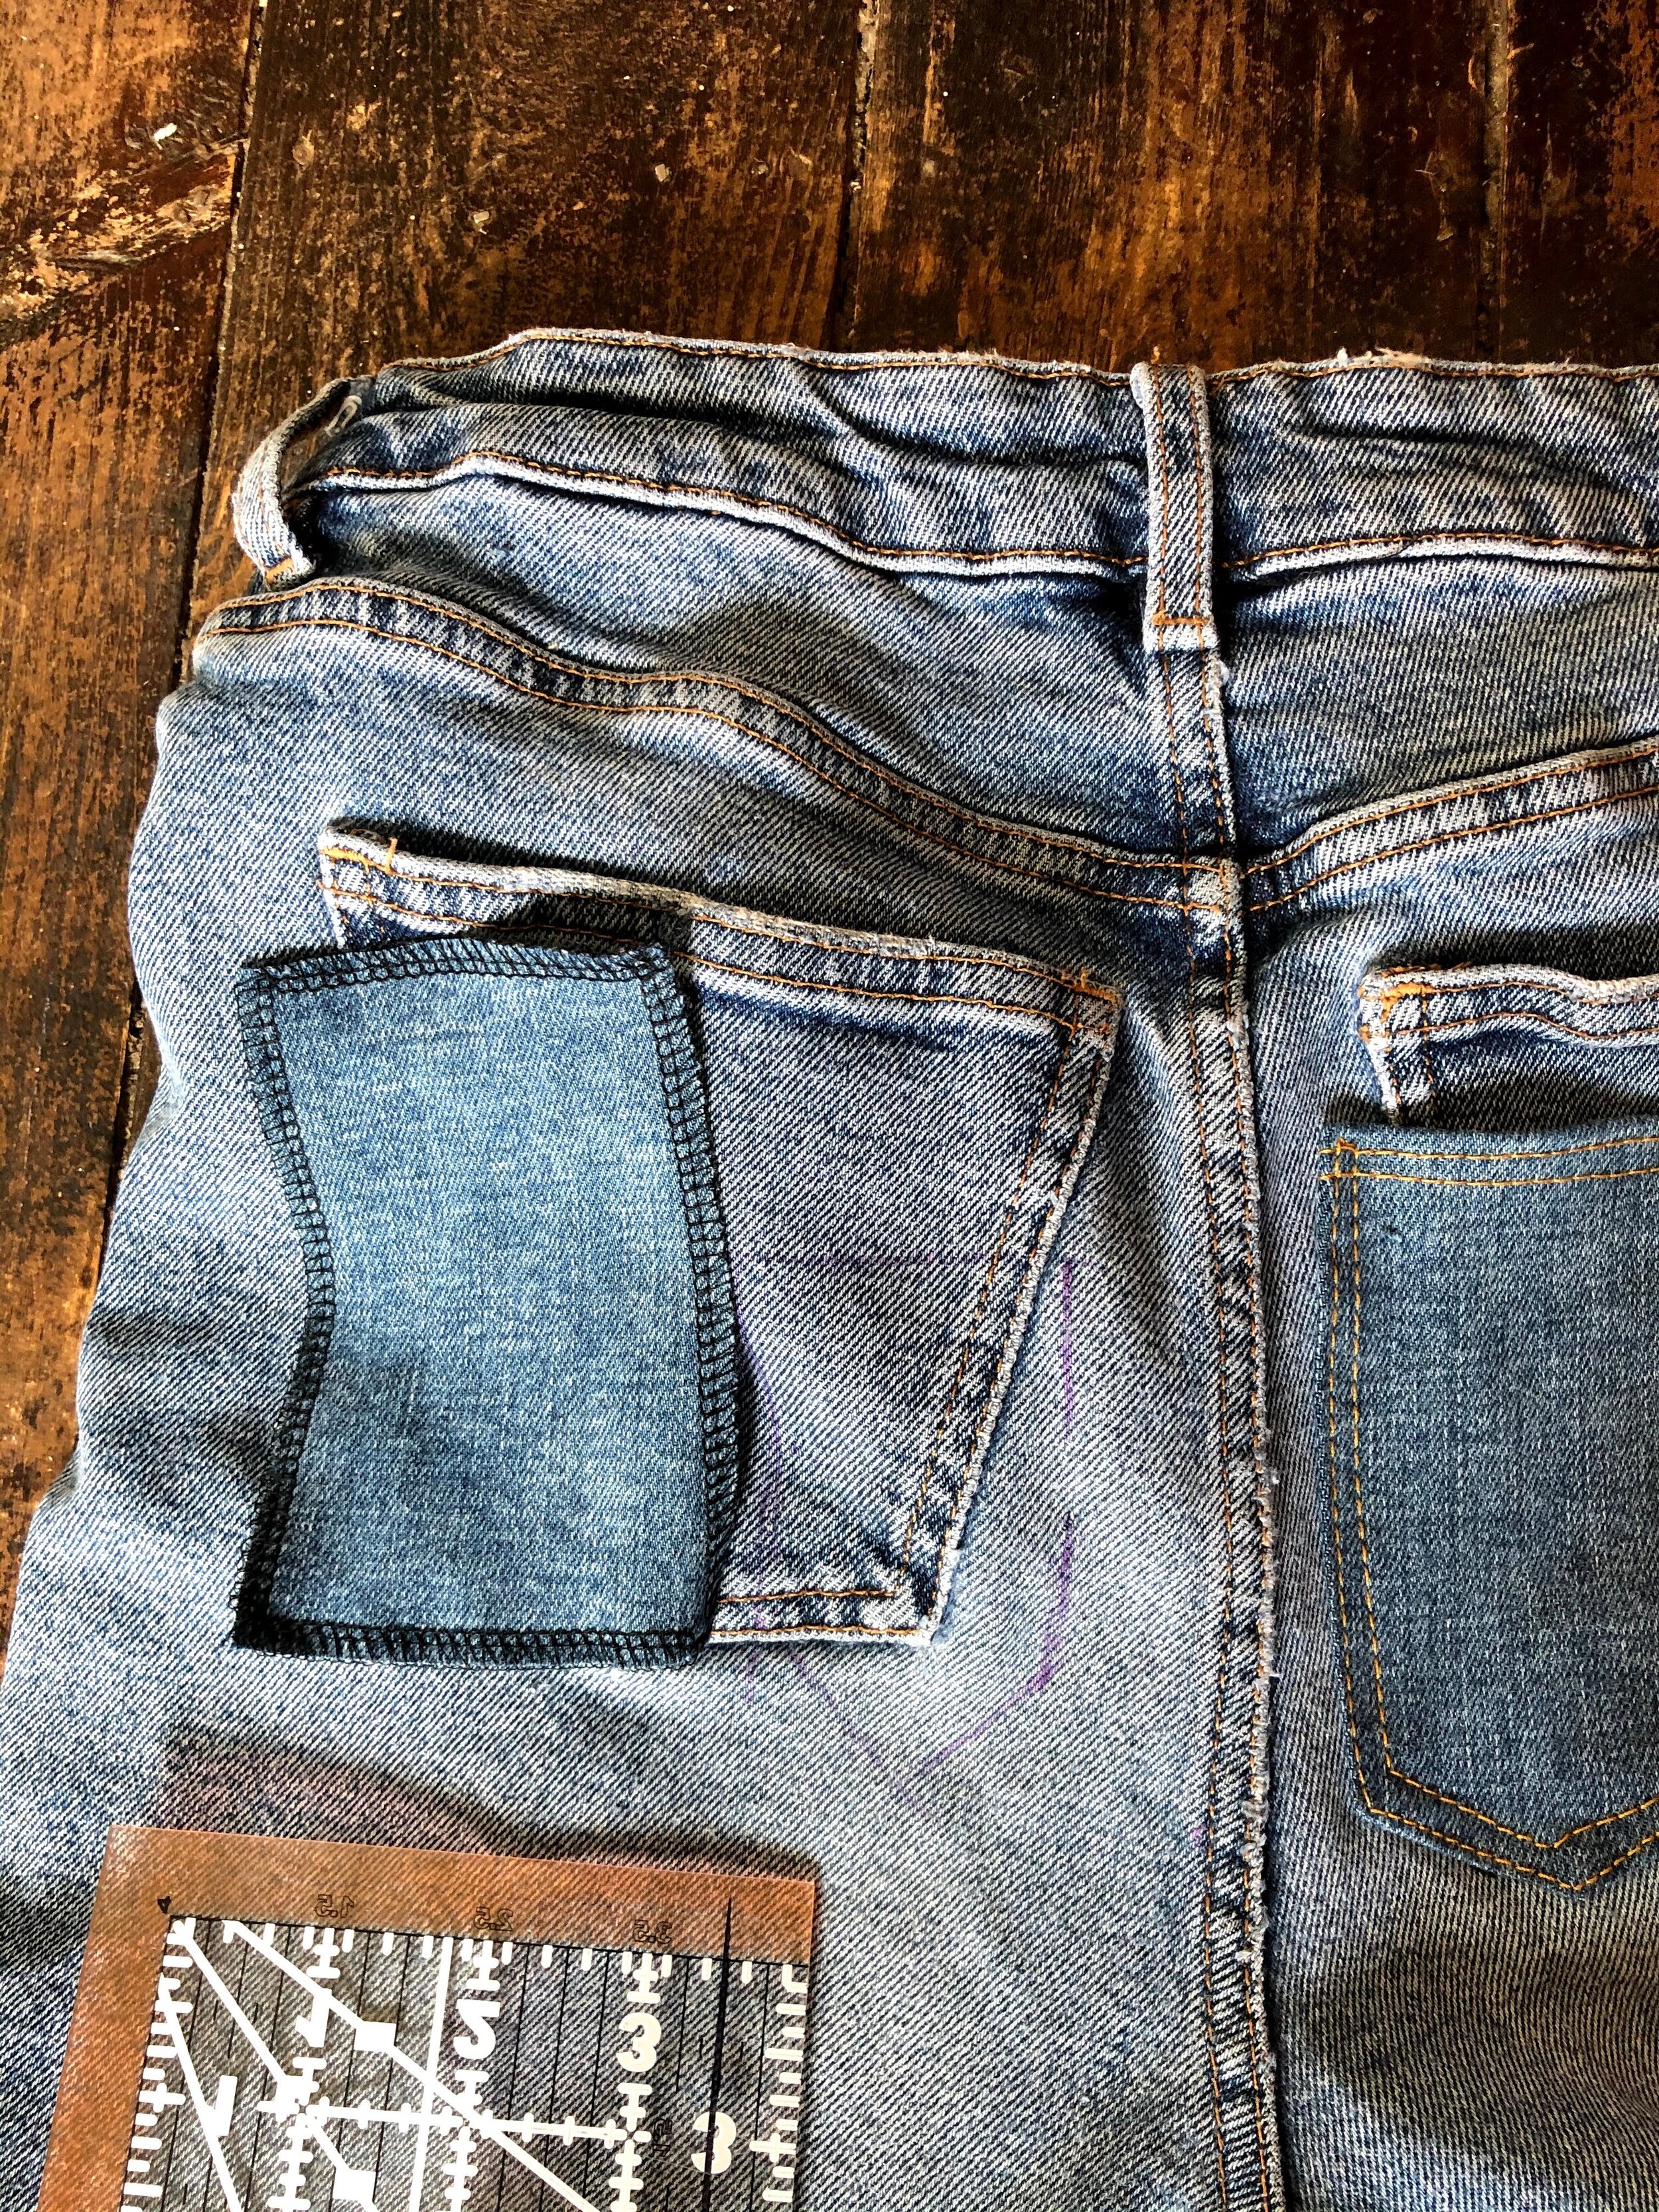
Step 2- cut out a patch to cover your new pocket shape.
The patch needs to be cut so the grain (direction of the fabrics weave) goes in the same direction as the original jeans. This means the jeans will stretch the same way- articuarly important on the bottom!!
Finish the edges of your patch by overlocking or zig-zag stitch and pin in place.
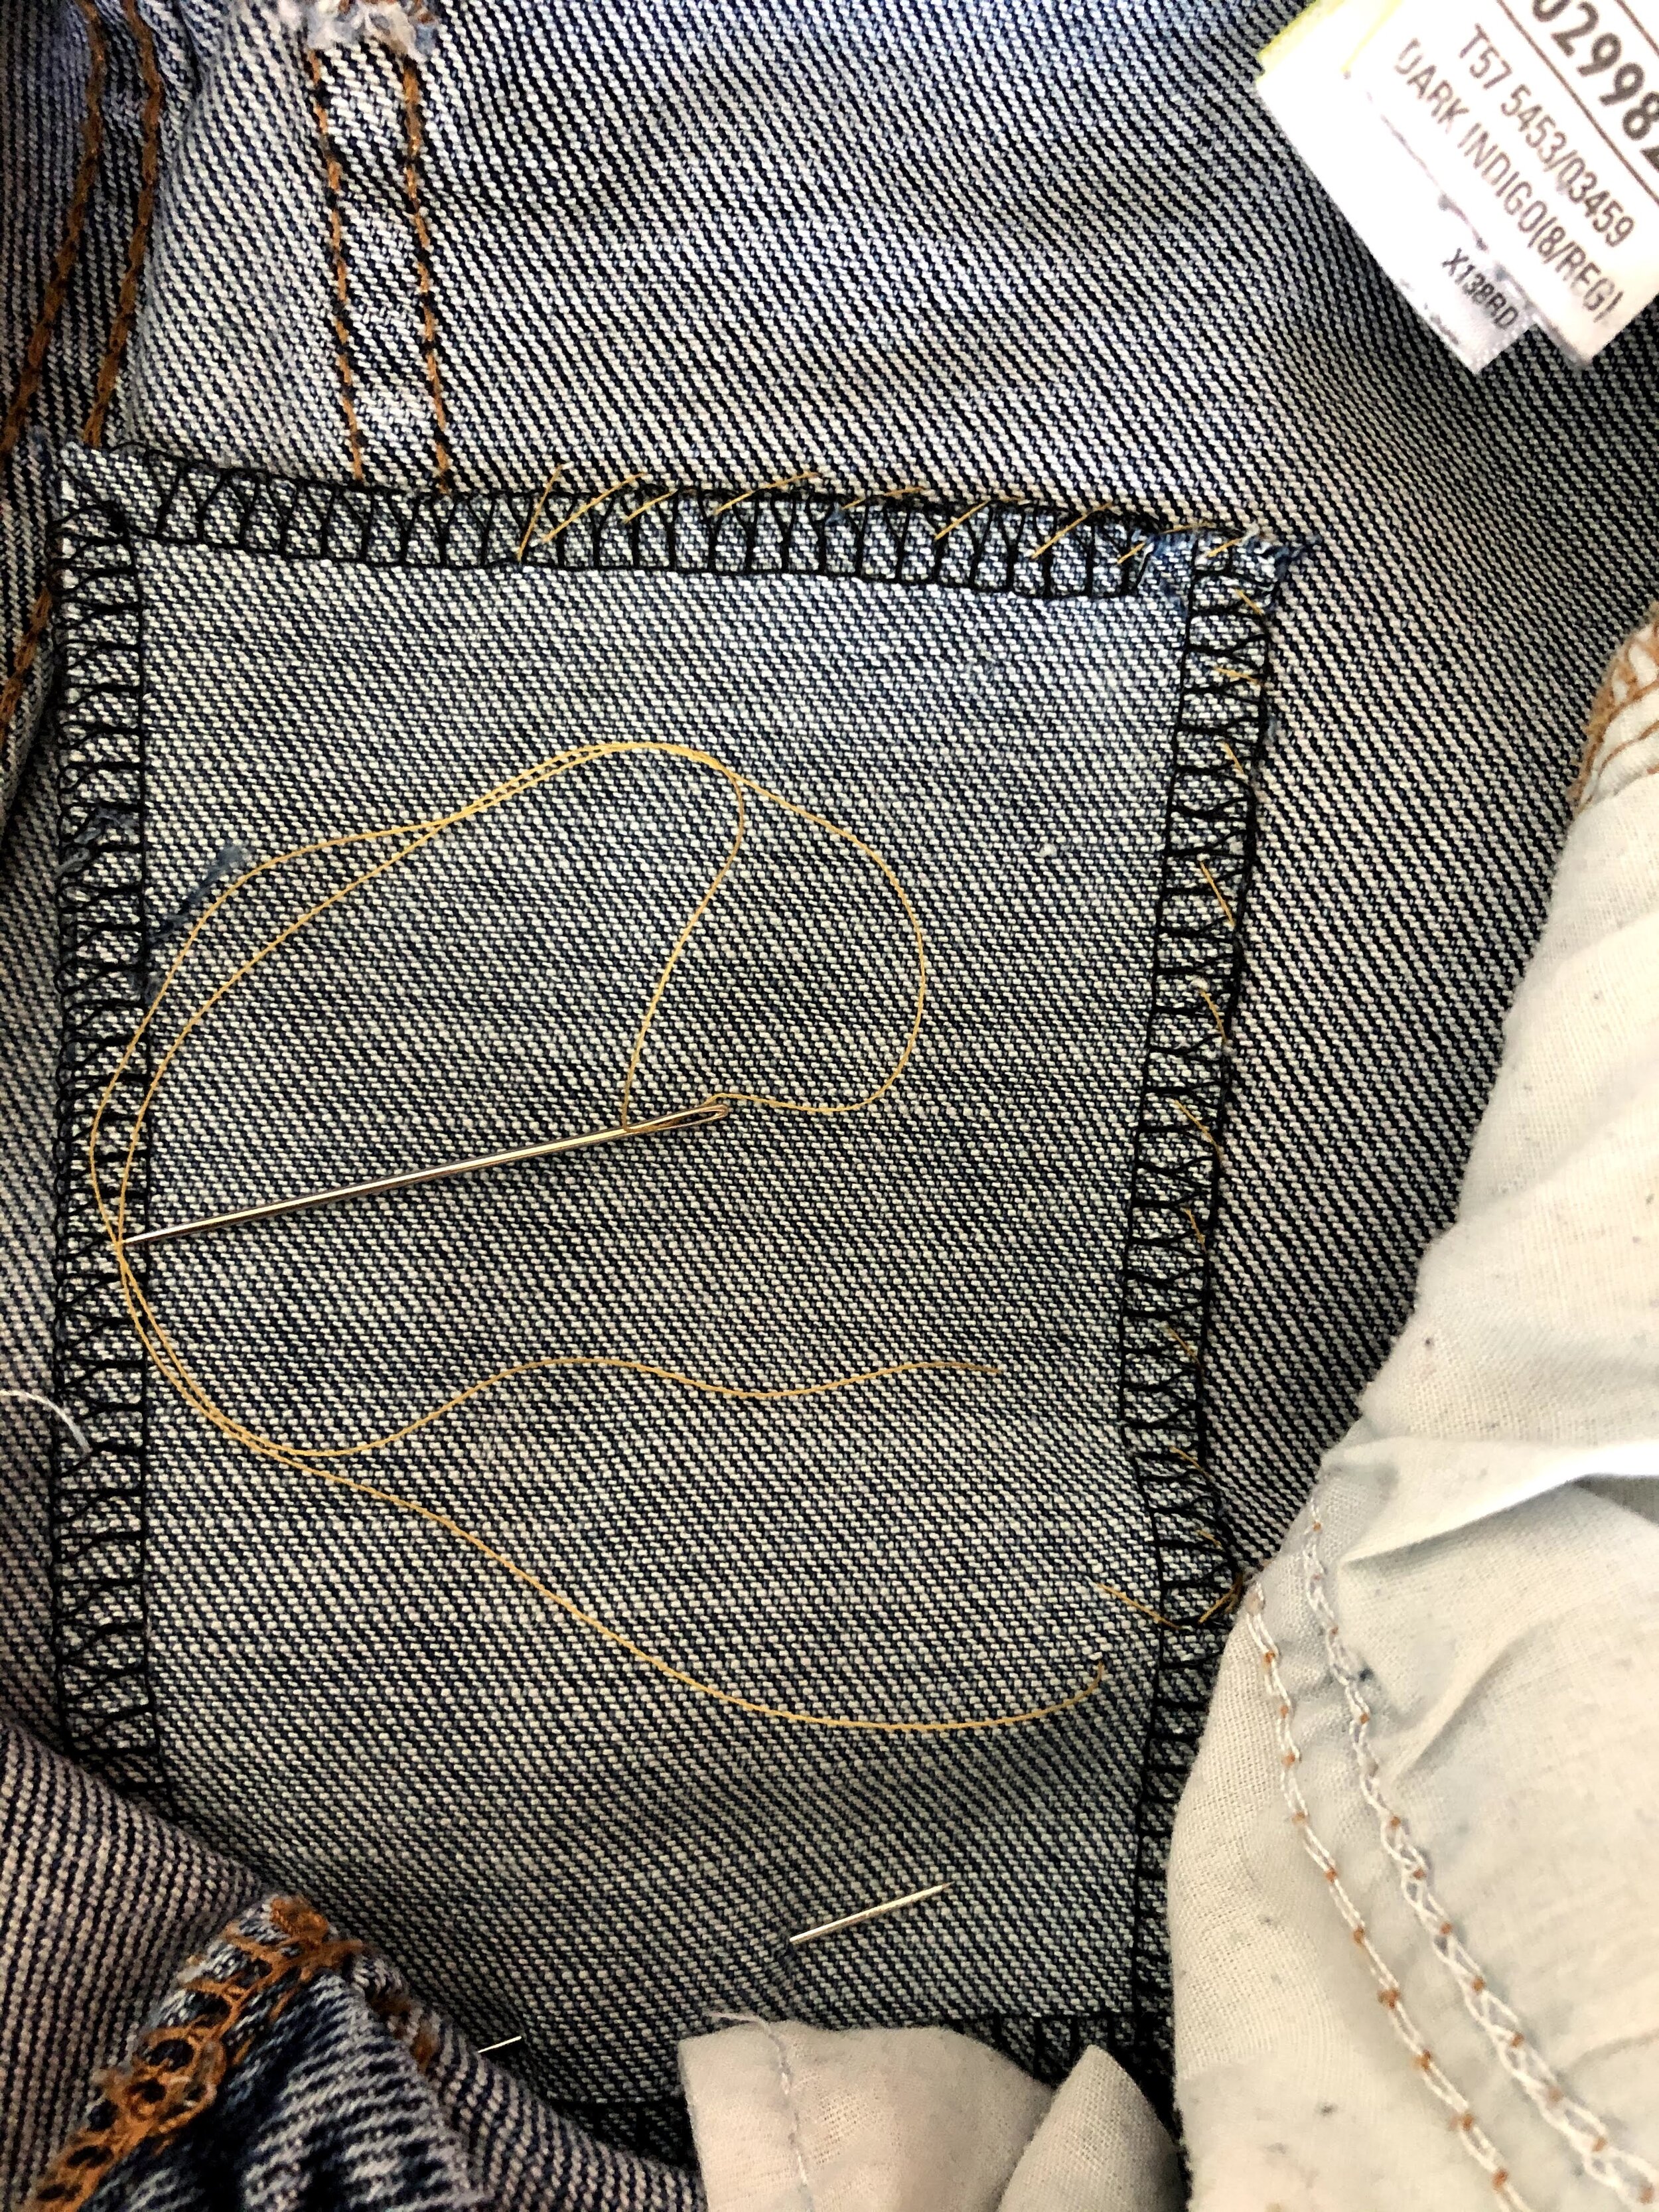
Step 3- baste stitch this patch in place. Baste stitch is a large stitch to secure something before putting it though the machine and you can remove these stitches once its been properly top stitched.
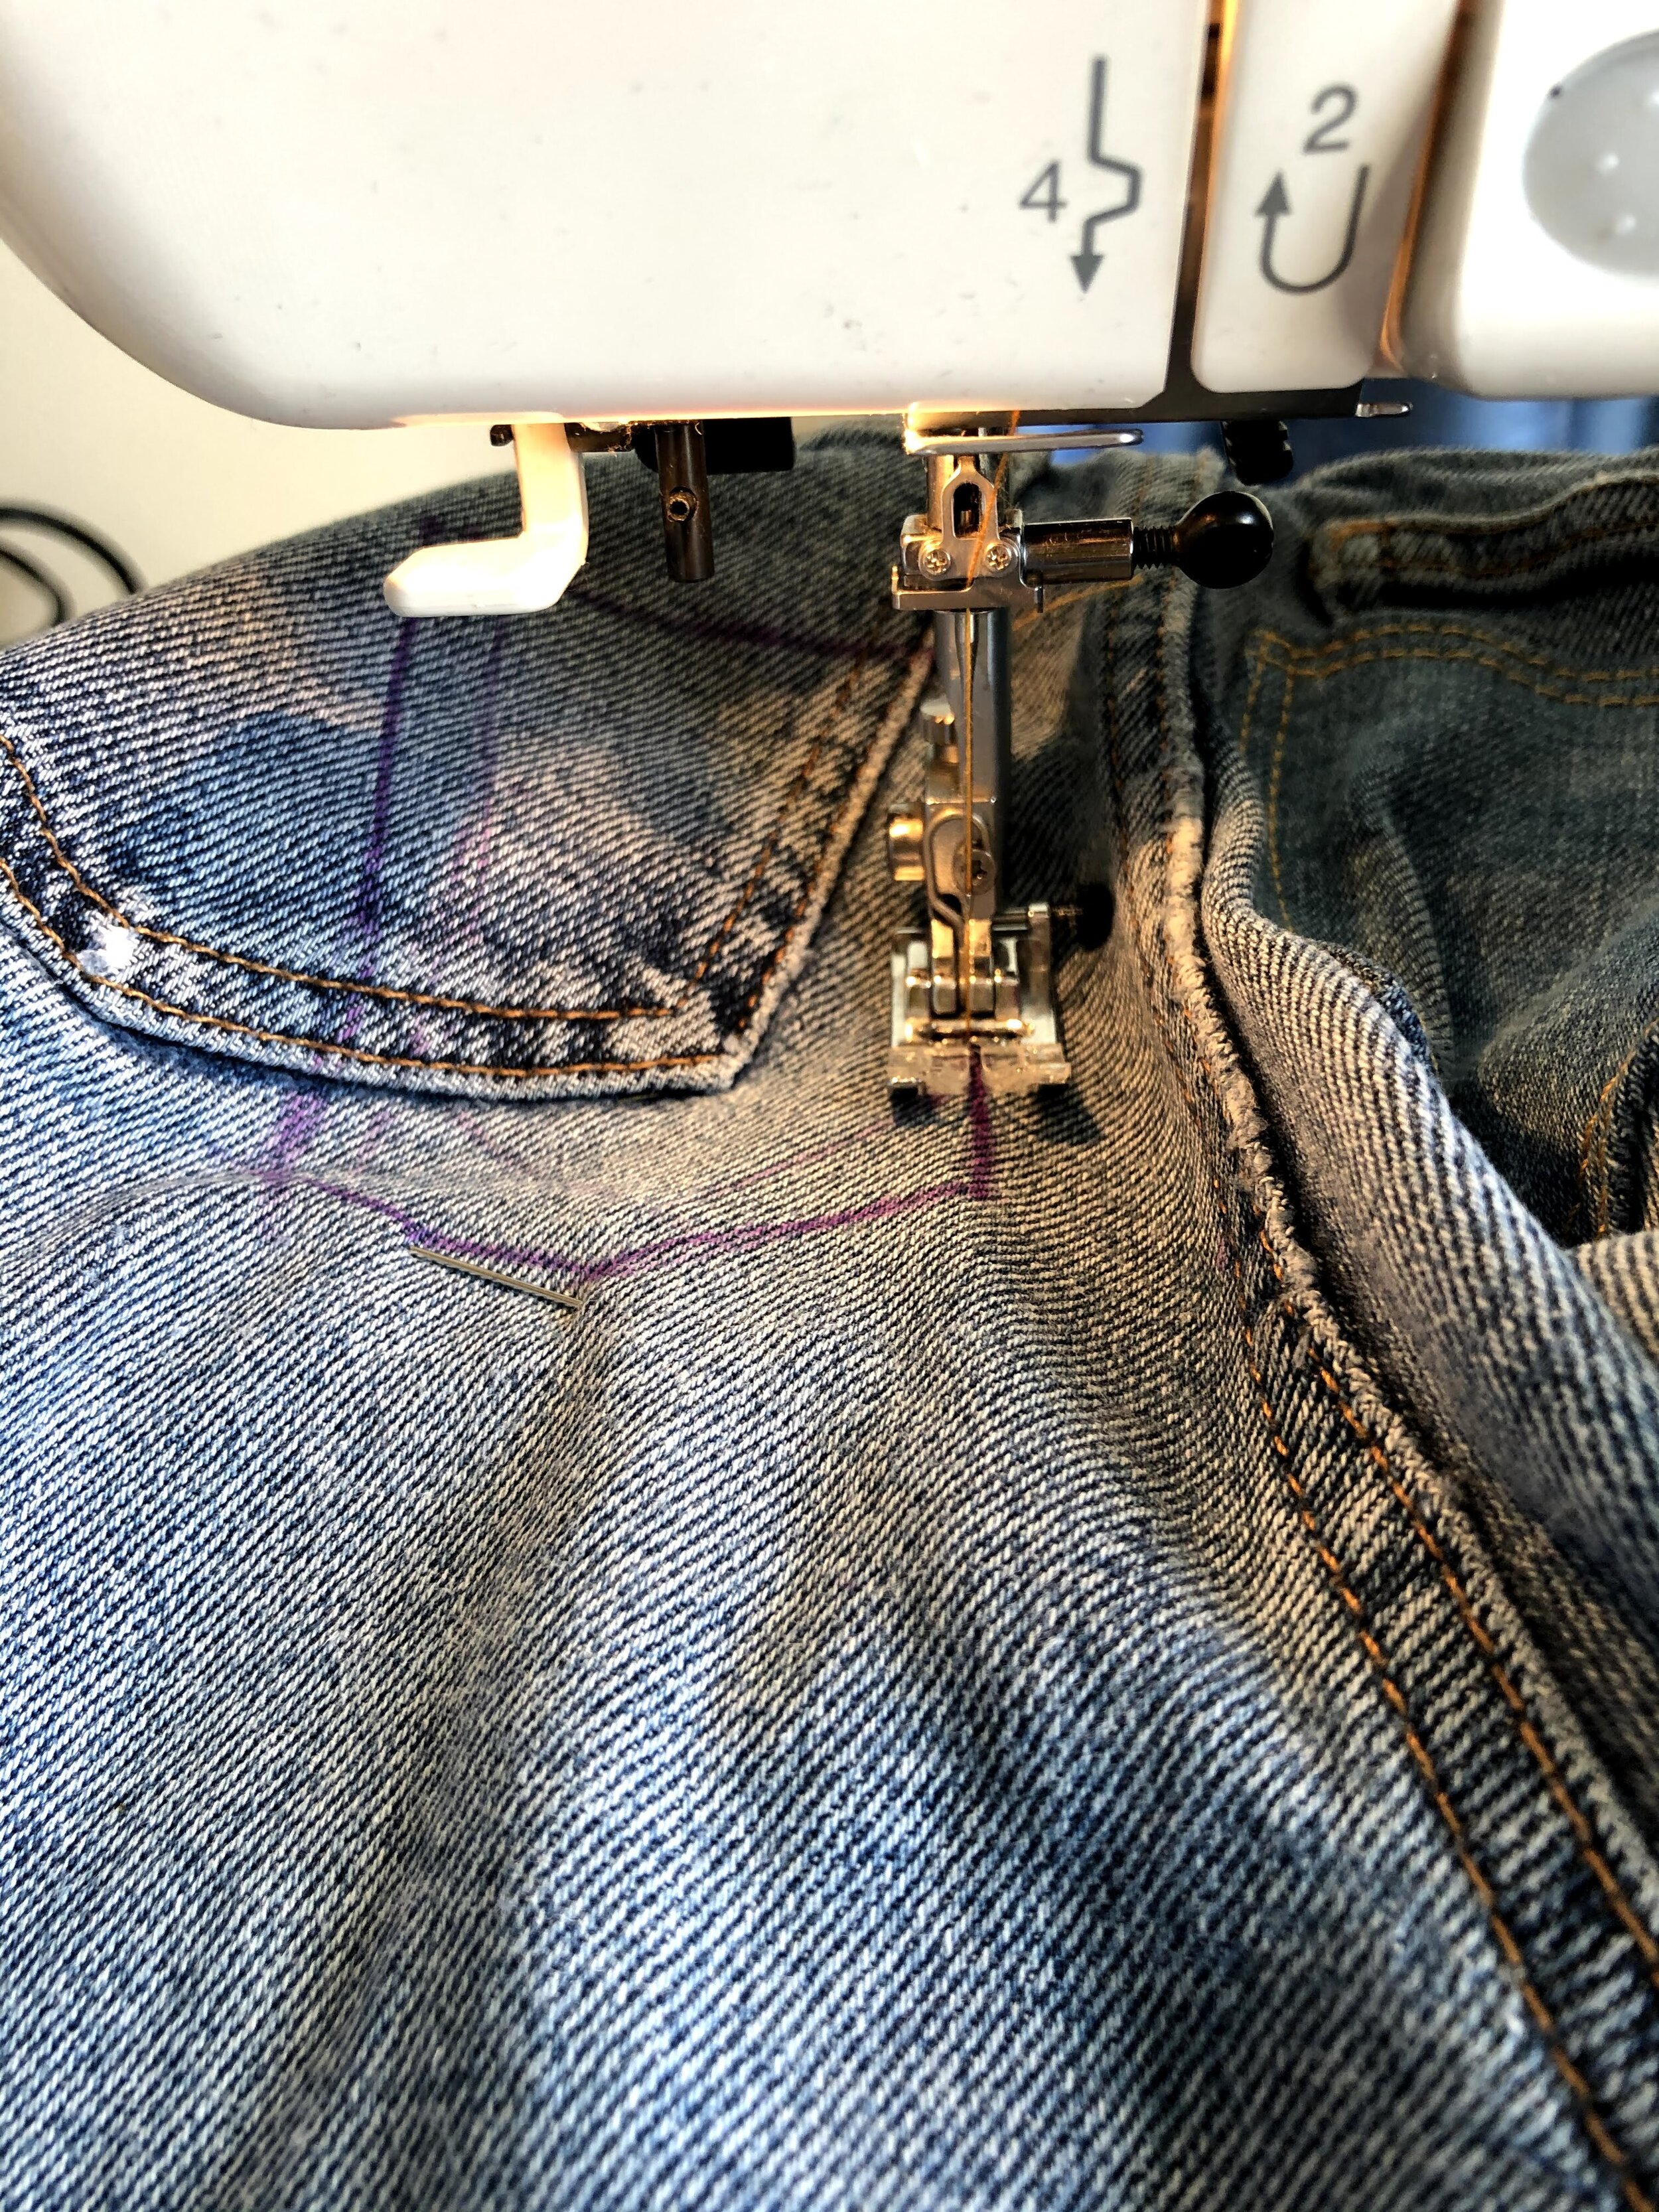
Step 4- turn your jeans the right way out.
Set you machine stitch to a size and thread that matches the original jeans and top stitching gthe pocket shape. I did two rows of stitching to replicate the original pocket stitch layout. As much as you can replicate the original stitching the more effective the finish can be.

Step 5- sew your loose threads to the back and secure and voila! Rip repaired!
Step 1- create a mini patch pocket that replicates the shape of the original pocket.
Make sure the patch is cut with the same grain line as the body fabric of the original jeans so that the jeans and pocket will stretch in the same way when worn.
Fold and press the hems in.
Step 2- Fold the top hem down by 15mm and topstitch the mini patch pocket with a thread and stitch length as similar to the original jeans as possible. Press and pin in place.

Step 3- top stitch around the pocket adding extra bar tack style stitched on the opening corners to reinforce them and you did it! One fixed pair of jeans!!!
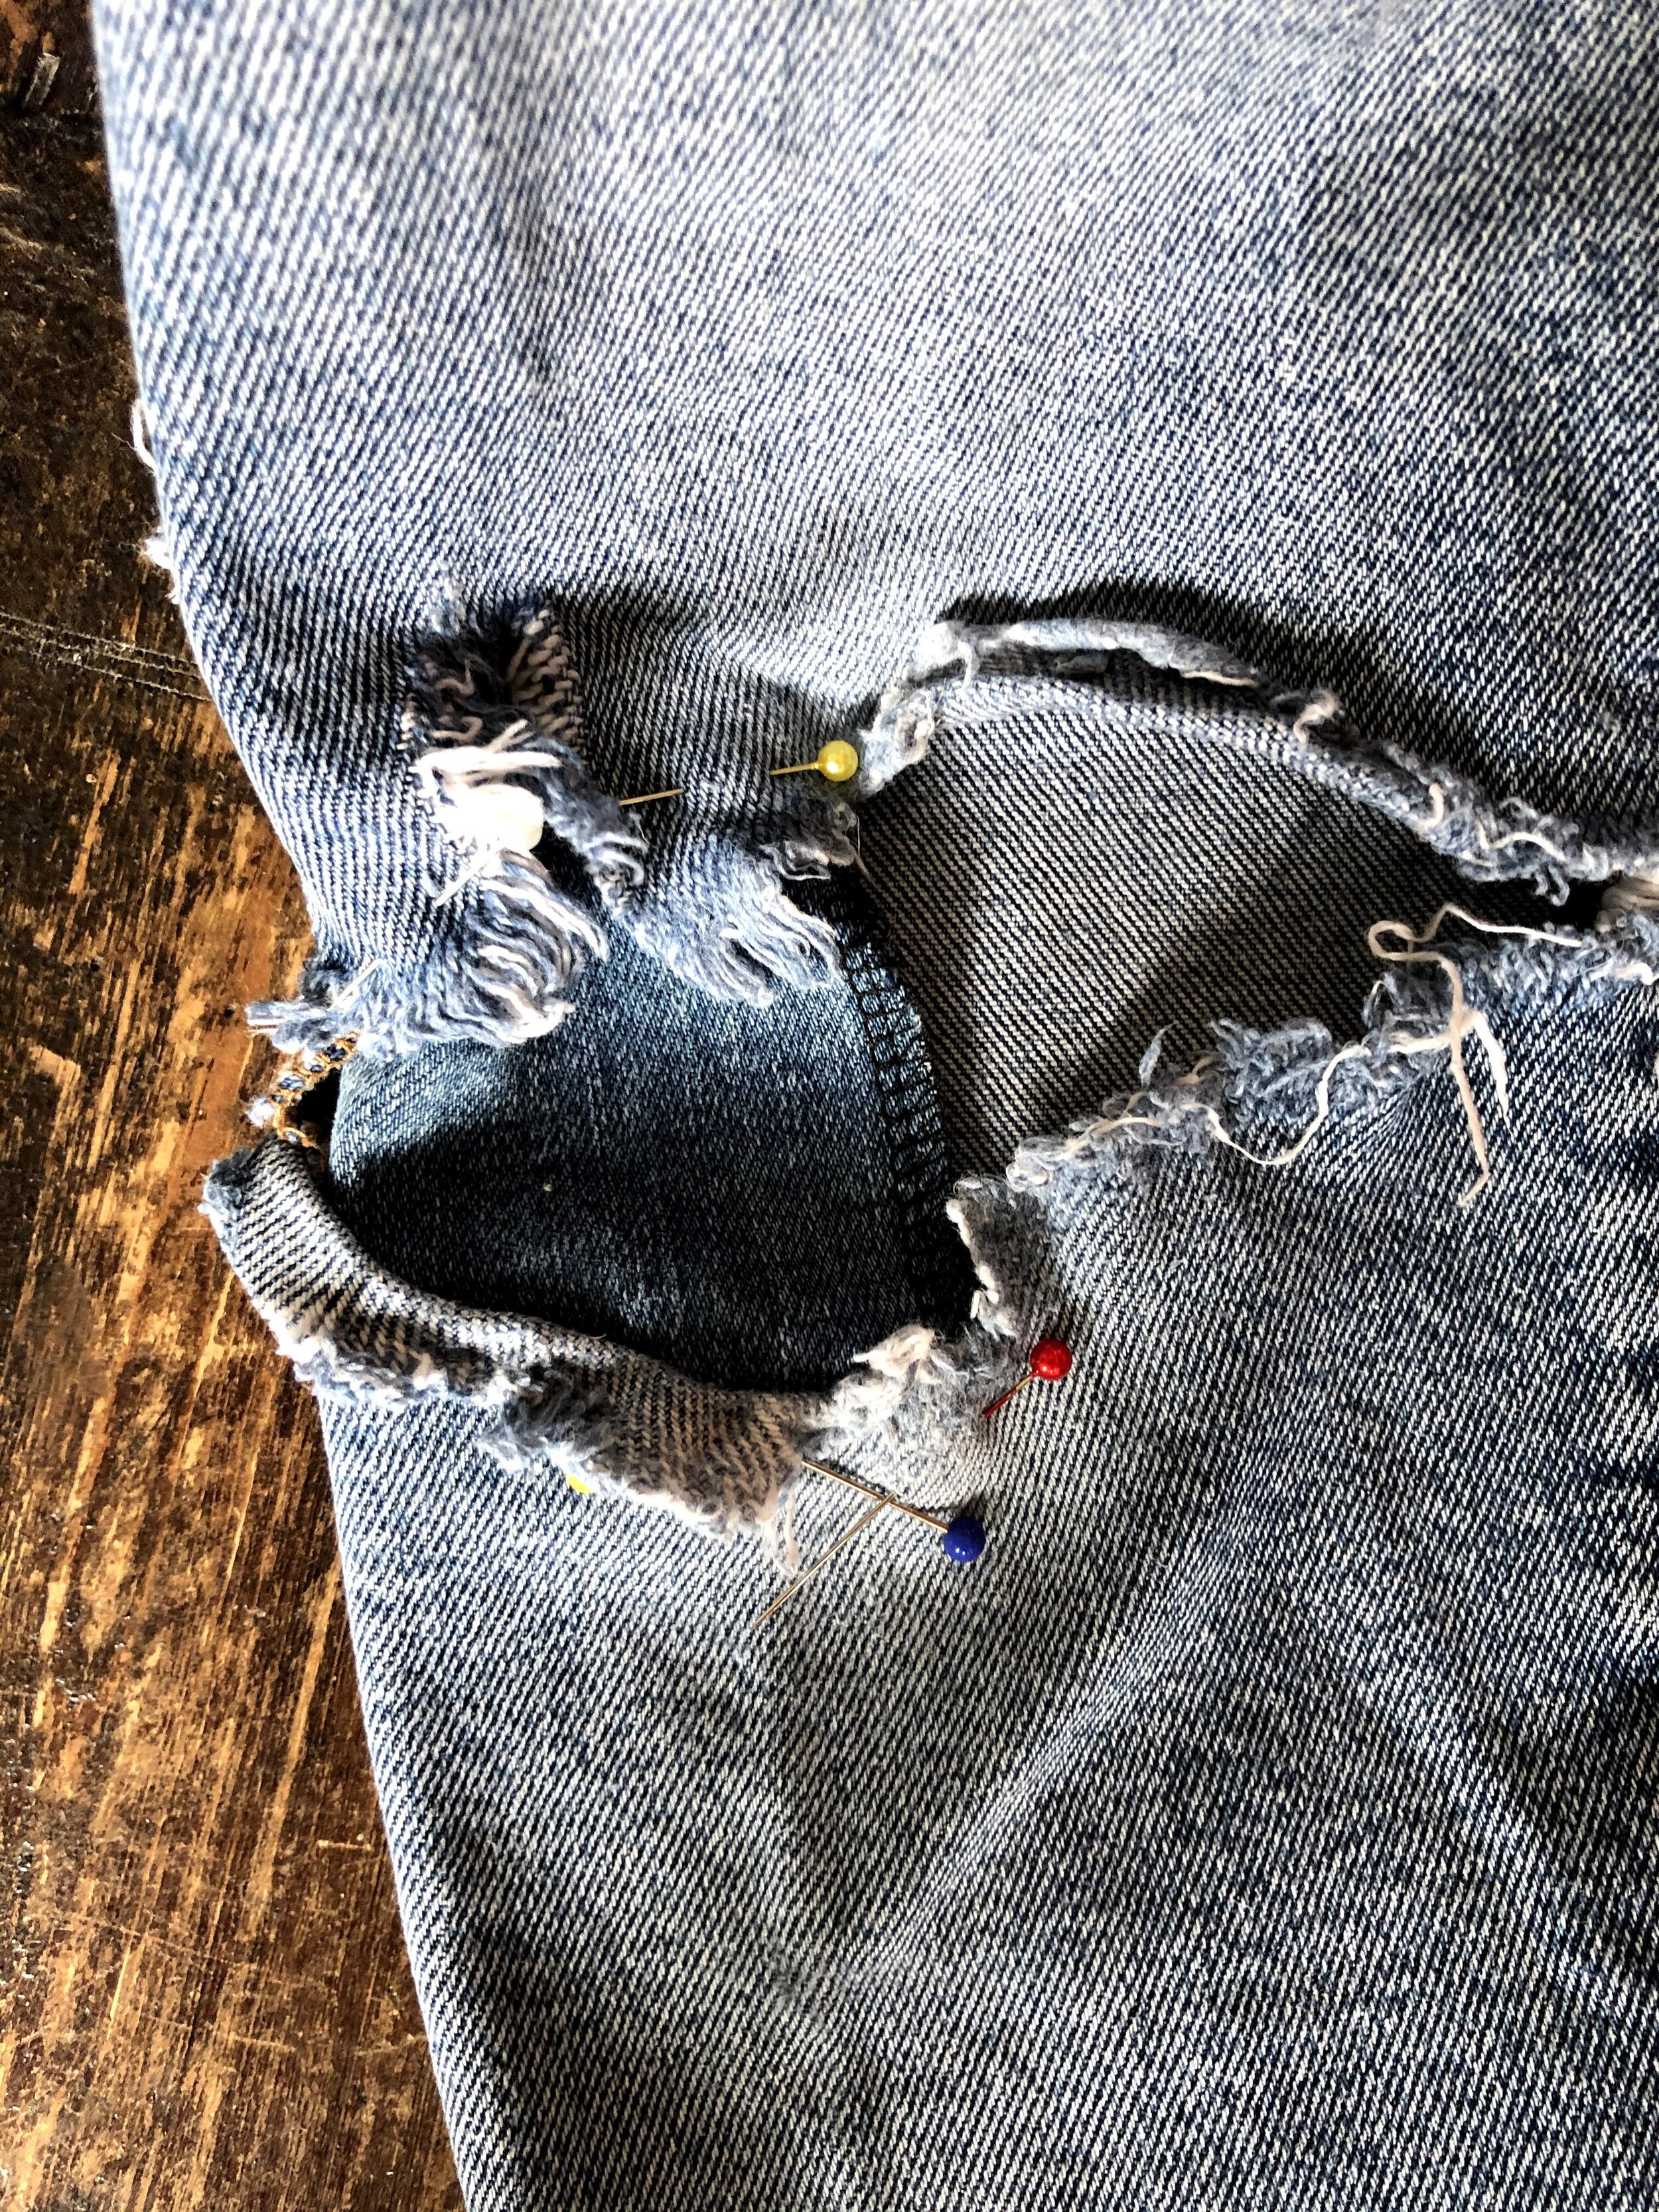
I have also started repairing the ripped knees. The knees ripped naturaly from many hours of cleaning and gardening but I let the rips get way to big…now my knees are cold when I where them..so heres how you can start to reapair them. I want to keep mine ripped though so I am trying to reinforce them and keep them warm with out fully repairing them.

The culprit
Step 1- out off any major loose threads.
Step 2- create a patch like in the previous repairs, with a finished edge and matching grain lines.
Step 3- place you patch inside the leg and pin it in place so it replaces the fabric that has been worn away.
As I mentioned I want to maintain some of the rip on my jeans but if you don’t your patch could go the whole way across the front knee.
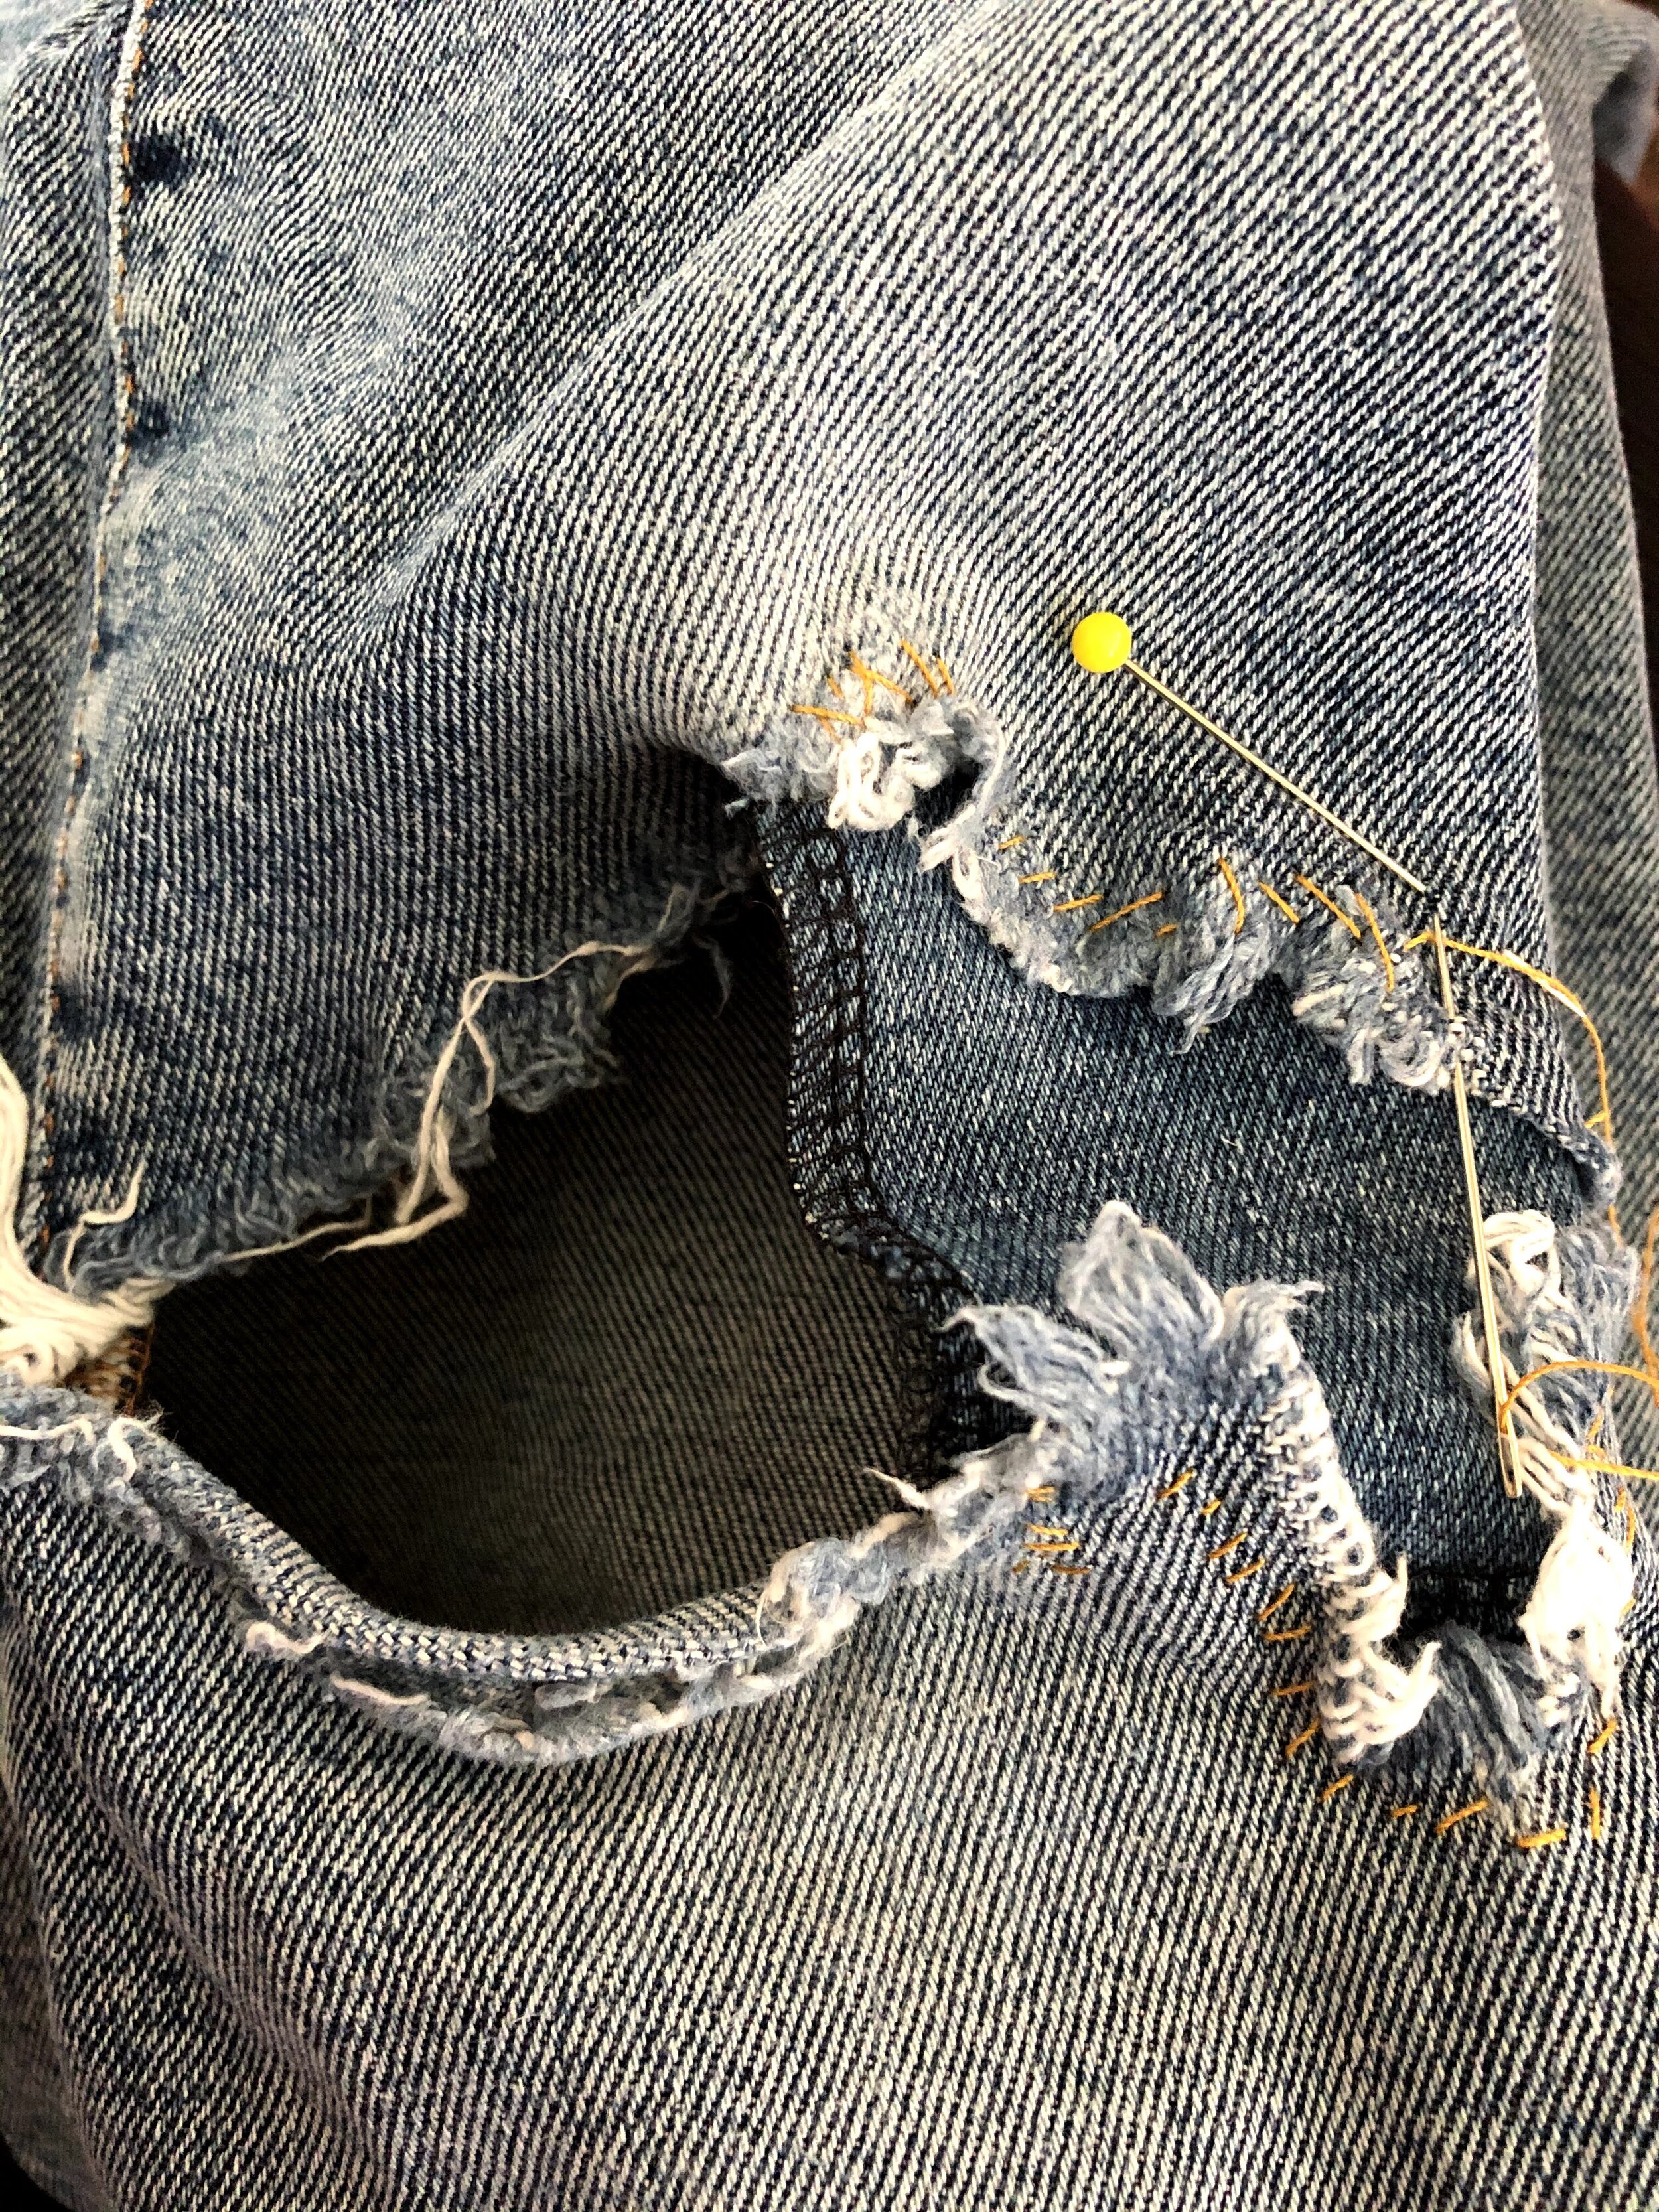
Step 4- I have top stitched using the same denim thread as I did on the old pockets to secure the patch to the frayed fabric. I am thinking of going over these with some more decorative free hand stitching another time. To do this I will use embroidery thread and free hand small stitches in a direction that keeps reinforcing the new patch to the jeans.
When there complete I will post another picture!
Is there anything in your wardrobe you would like to know how to repair? Tell me and I will see if I can help show you how! x