We recently renovated our bedroom on a really tight budget so we decided to have a go at making our own head board. It was a really simple project, doesn’t necessarily need to involve sewing (depending on your fabric choice) and took an afternoon to construct and install.
Here are the instructions for how to make a simple padded foam fabric headboard:
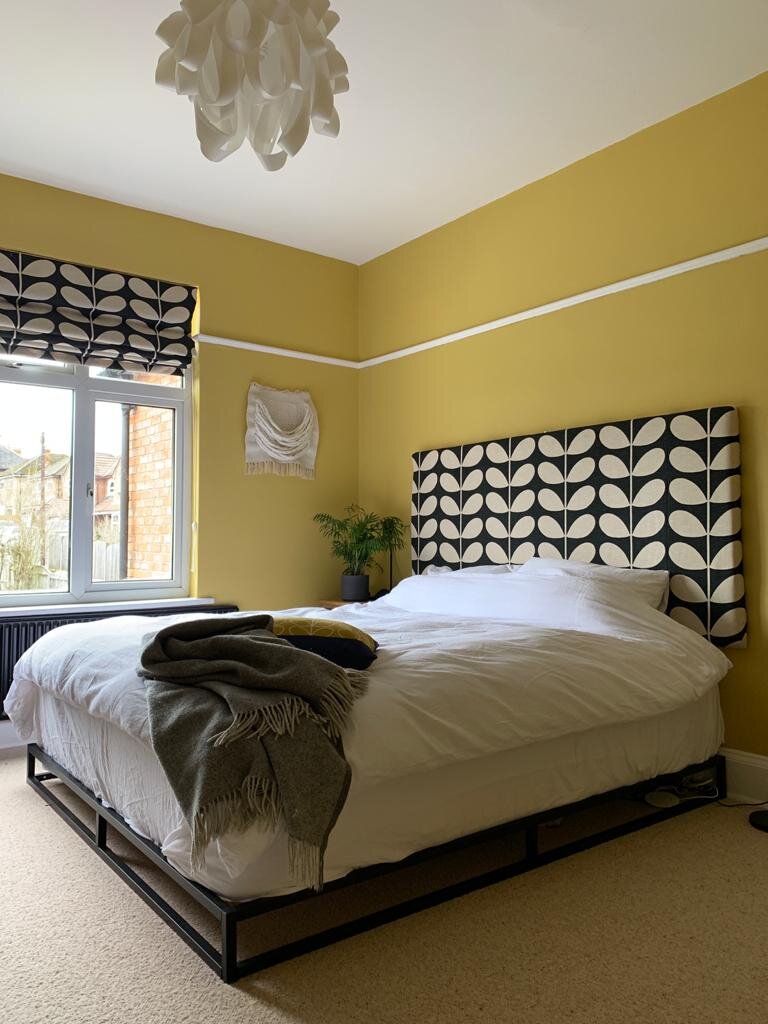
Here is the headboard finished and in situ…to find out how we transformed the rest of the room head here
What you need
Fabric - we used Orla Kiely upholstery fabric which I brought at a greatly discounted price from my local fabric market Curtain Corner.
Foam - 5cm deep with our stocking net from E-foam
Thread- to sew the seams of panels together
Wood- we used OBS sheet 1cm deep x 195cm wide x 90cm long from wickes.
Hardware needed- staples, screws and brackets
Tools- staple gun, hammer, sewing machine, iron and drill for installation.
Total material costs £77
How to calculate you head board finished size:
WIDTH - measure the width of your bed (x) add 10cm for the head board
HEIGHT- measure the length from the top of the mattress to the top of the head of the tallest person using your bed sitting upright against the head board then add 10cm
DEPTH- I opted for 5cm deep foam depth
How to calculate you head board wood size:
These measurements will be the same as those above except the depth only needs to be 1cm. For our super king mattress we went with the measurements 195cm x 90cm x 1 cm
How to calculate your fabric size:
Use the measurements from above and add the following to allow for fabric stretching abound the head board
WIDTH +5cm + 5cm (to cover foam side depth) +10cm +10cm to allow for stretching
LENGTH +5cm + 5cm (to cover foam side depth) +10cm +10cm to allow for stretching
STEP 1
If like me you are using a directional printed fabric and the head board width is greater than the fabric width then you will need to carefully pattern match these pieces together for which you will need to allow 1-2cm for seam allowance.

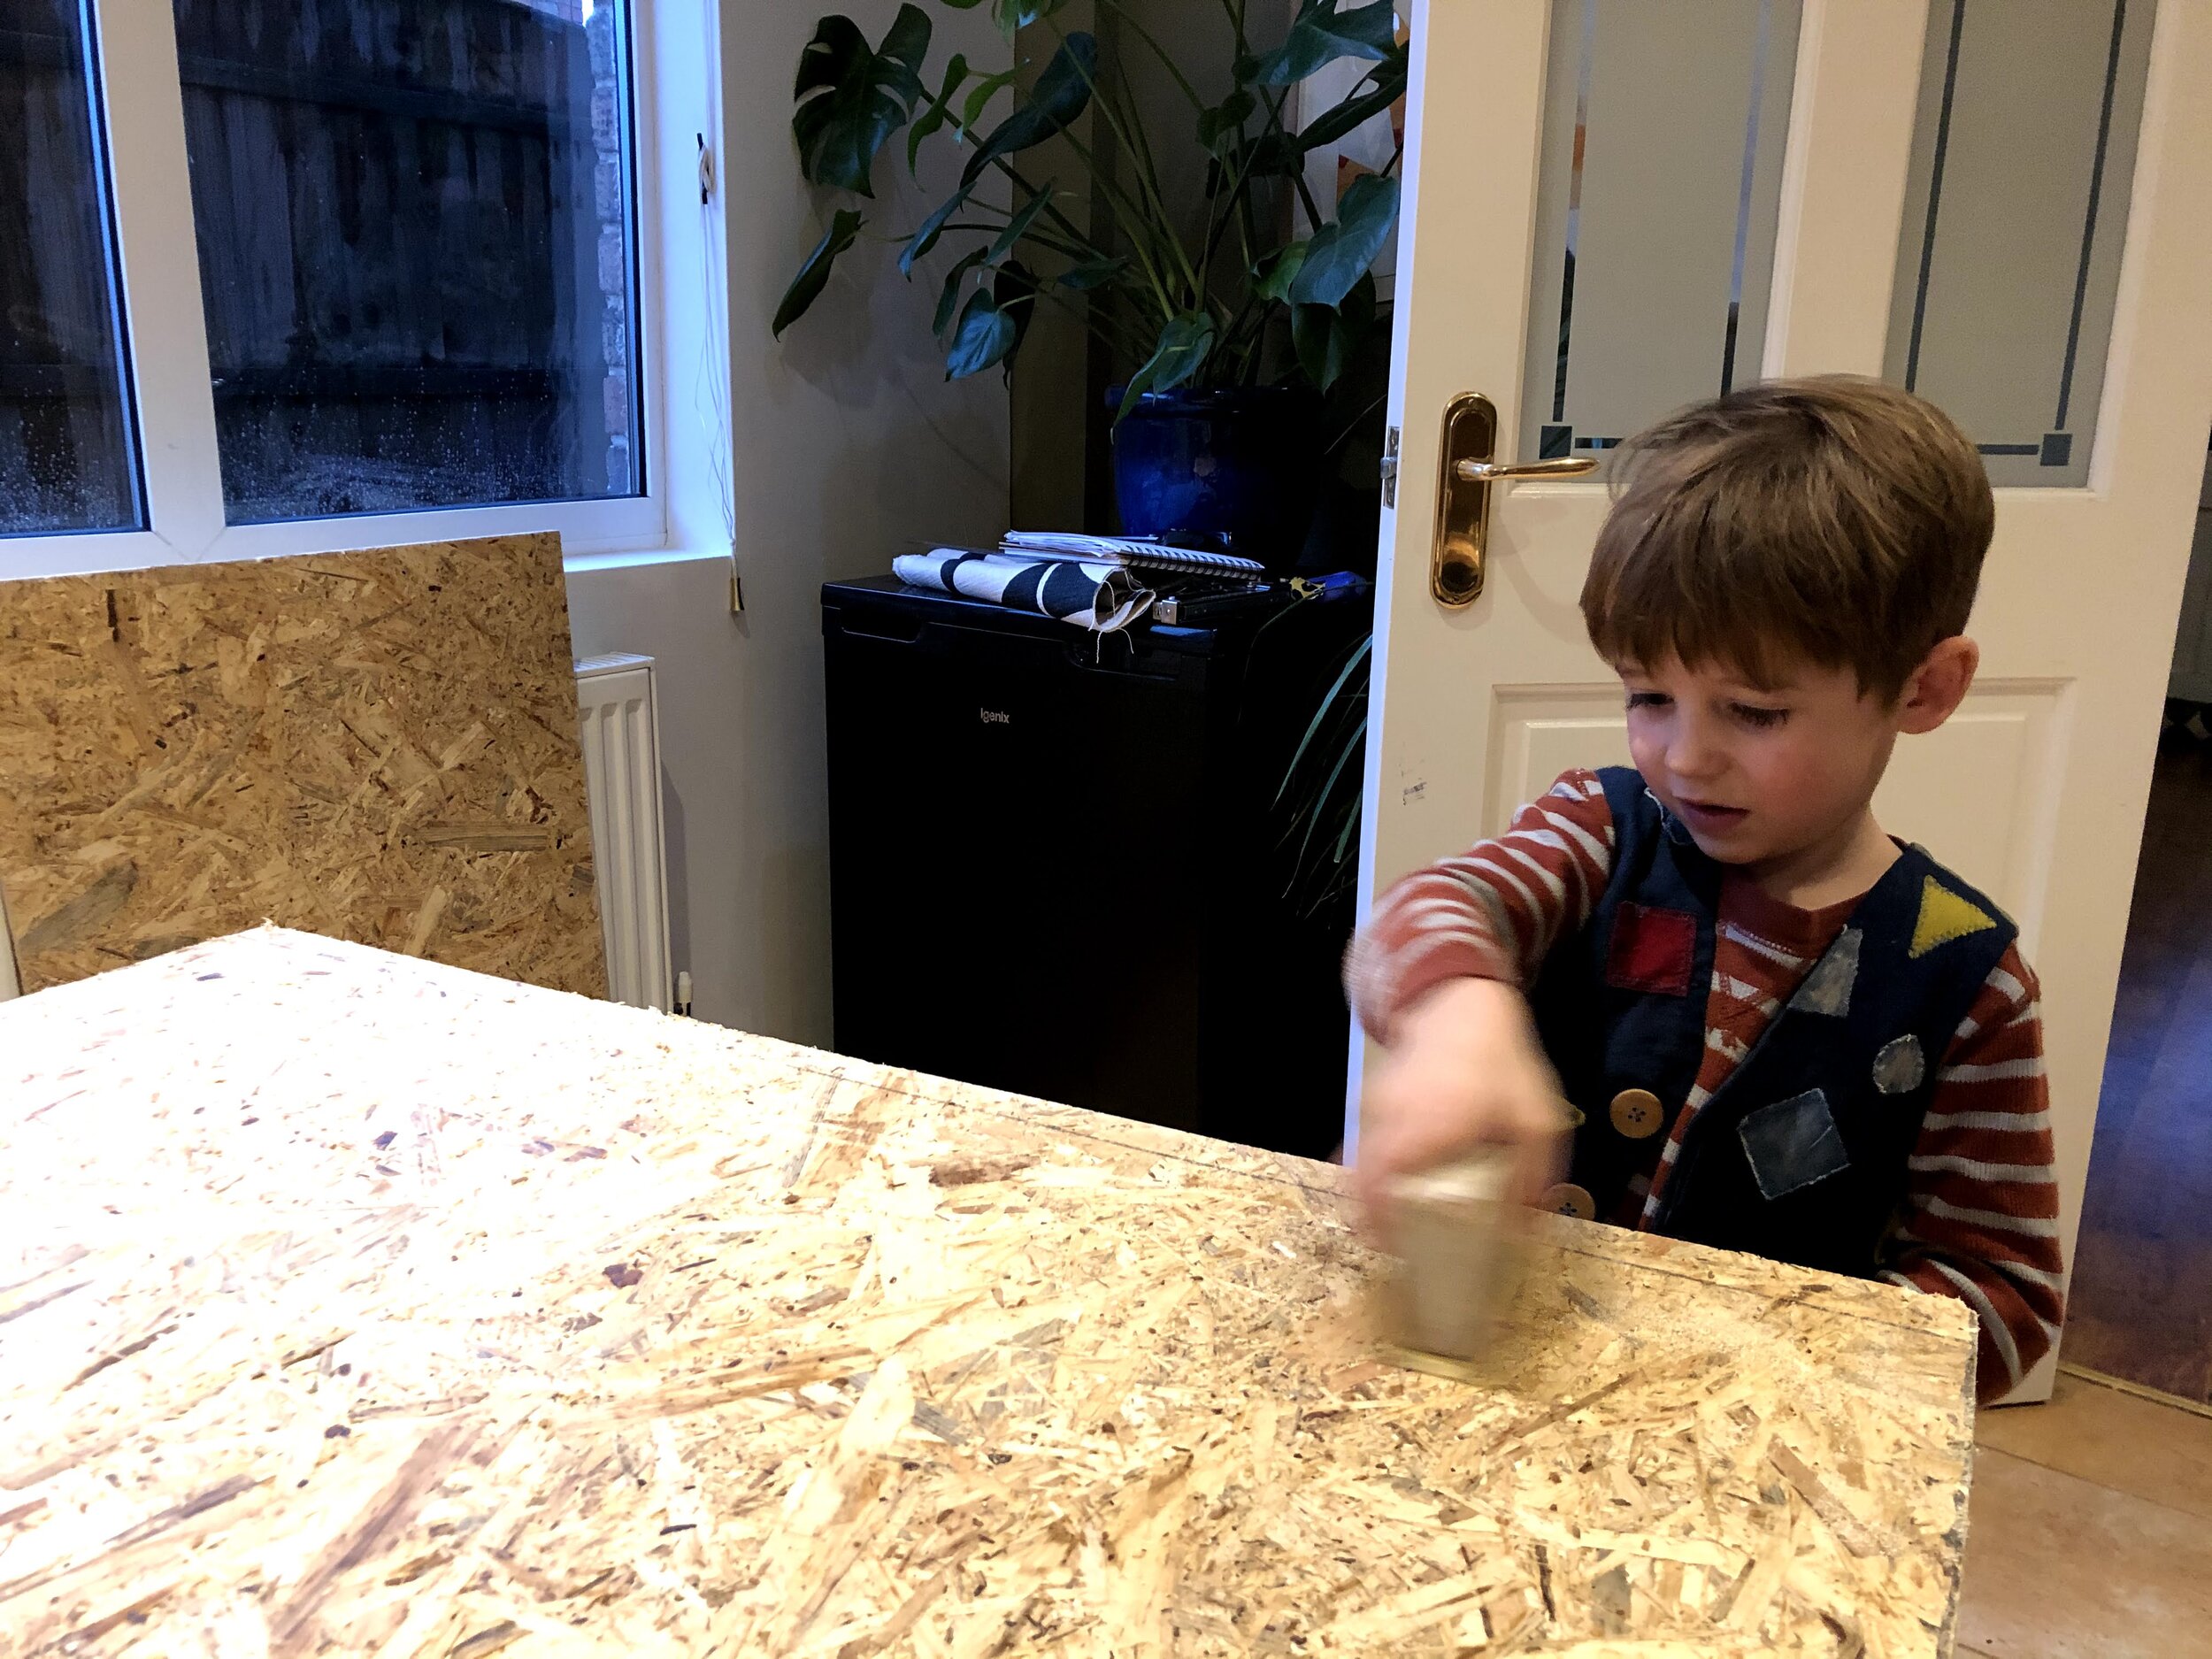
STEP 2- cut and sand your wood to size
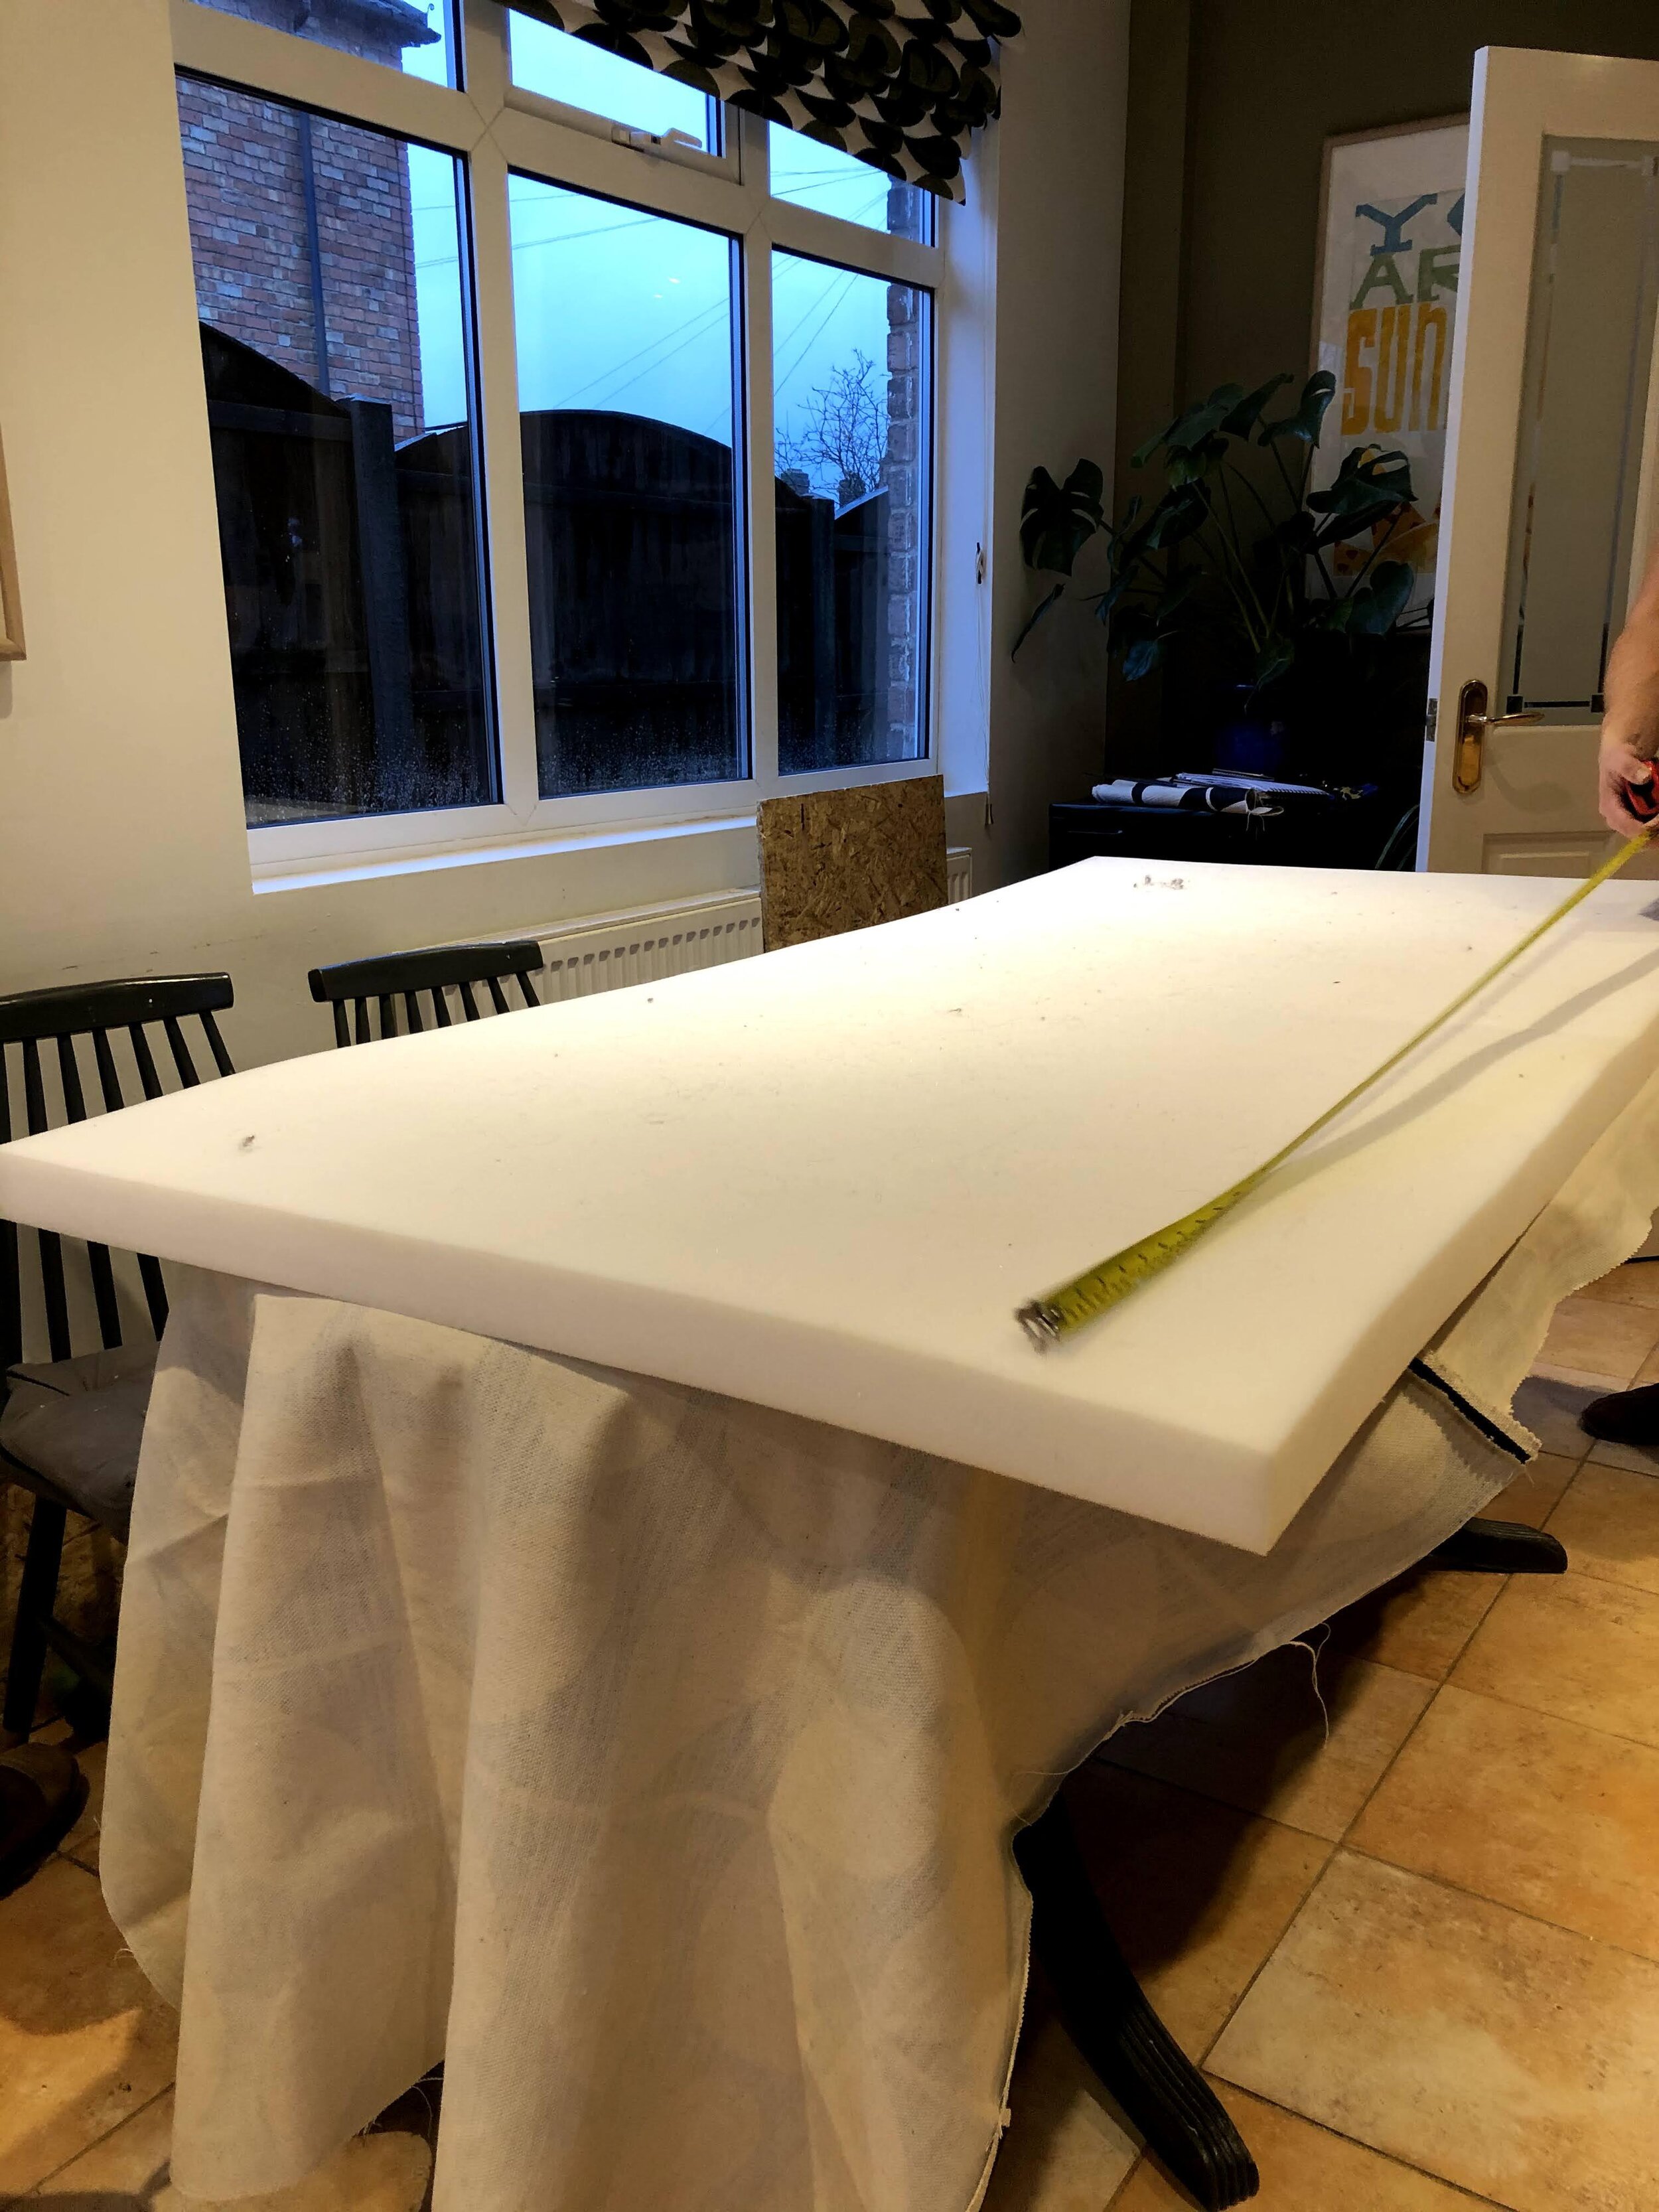
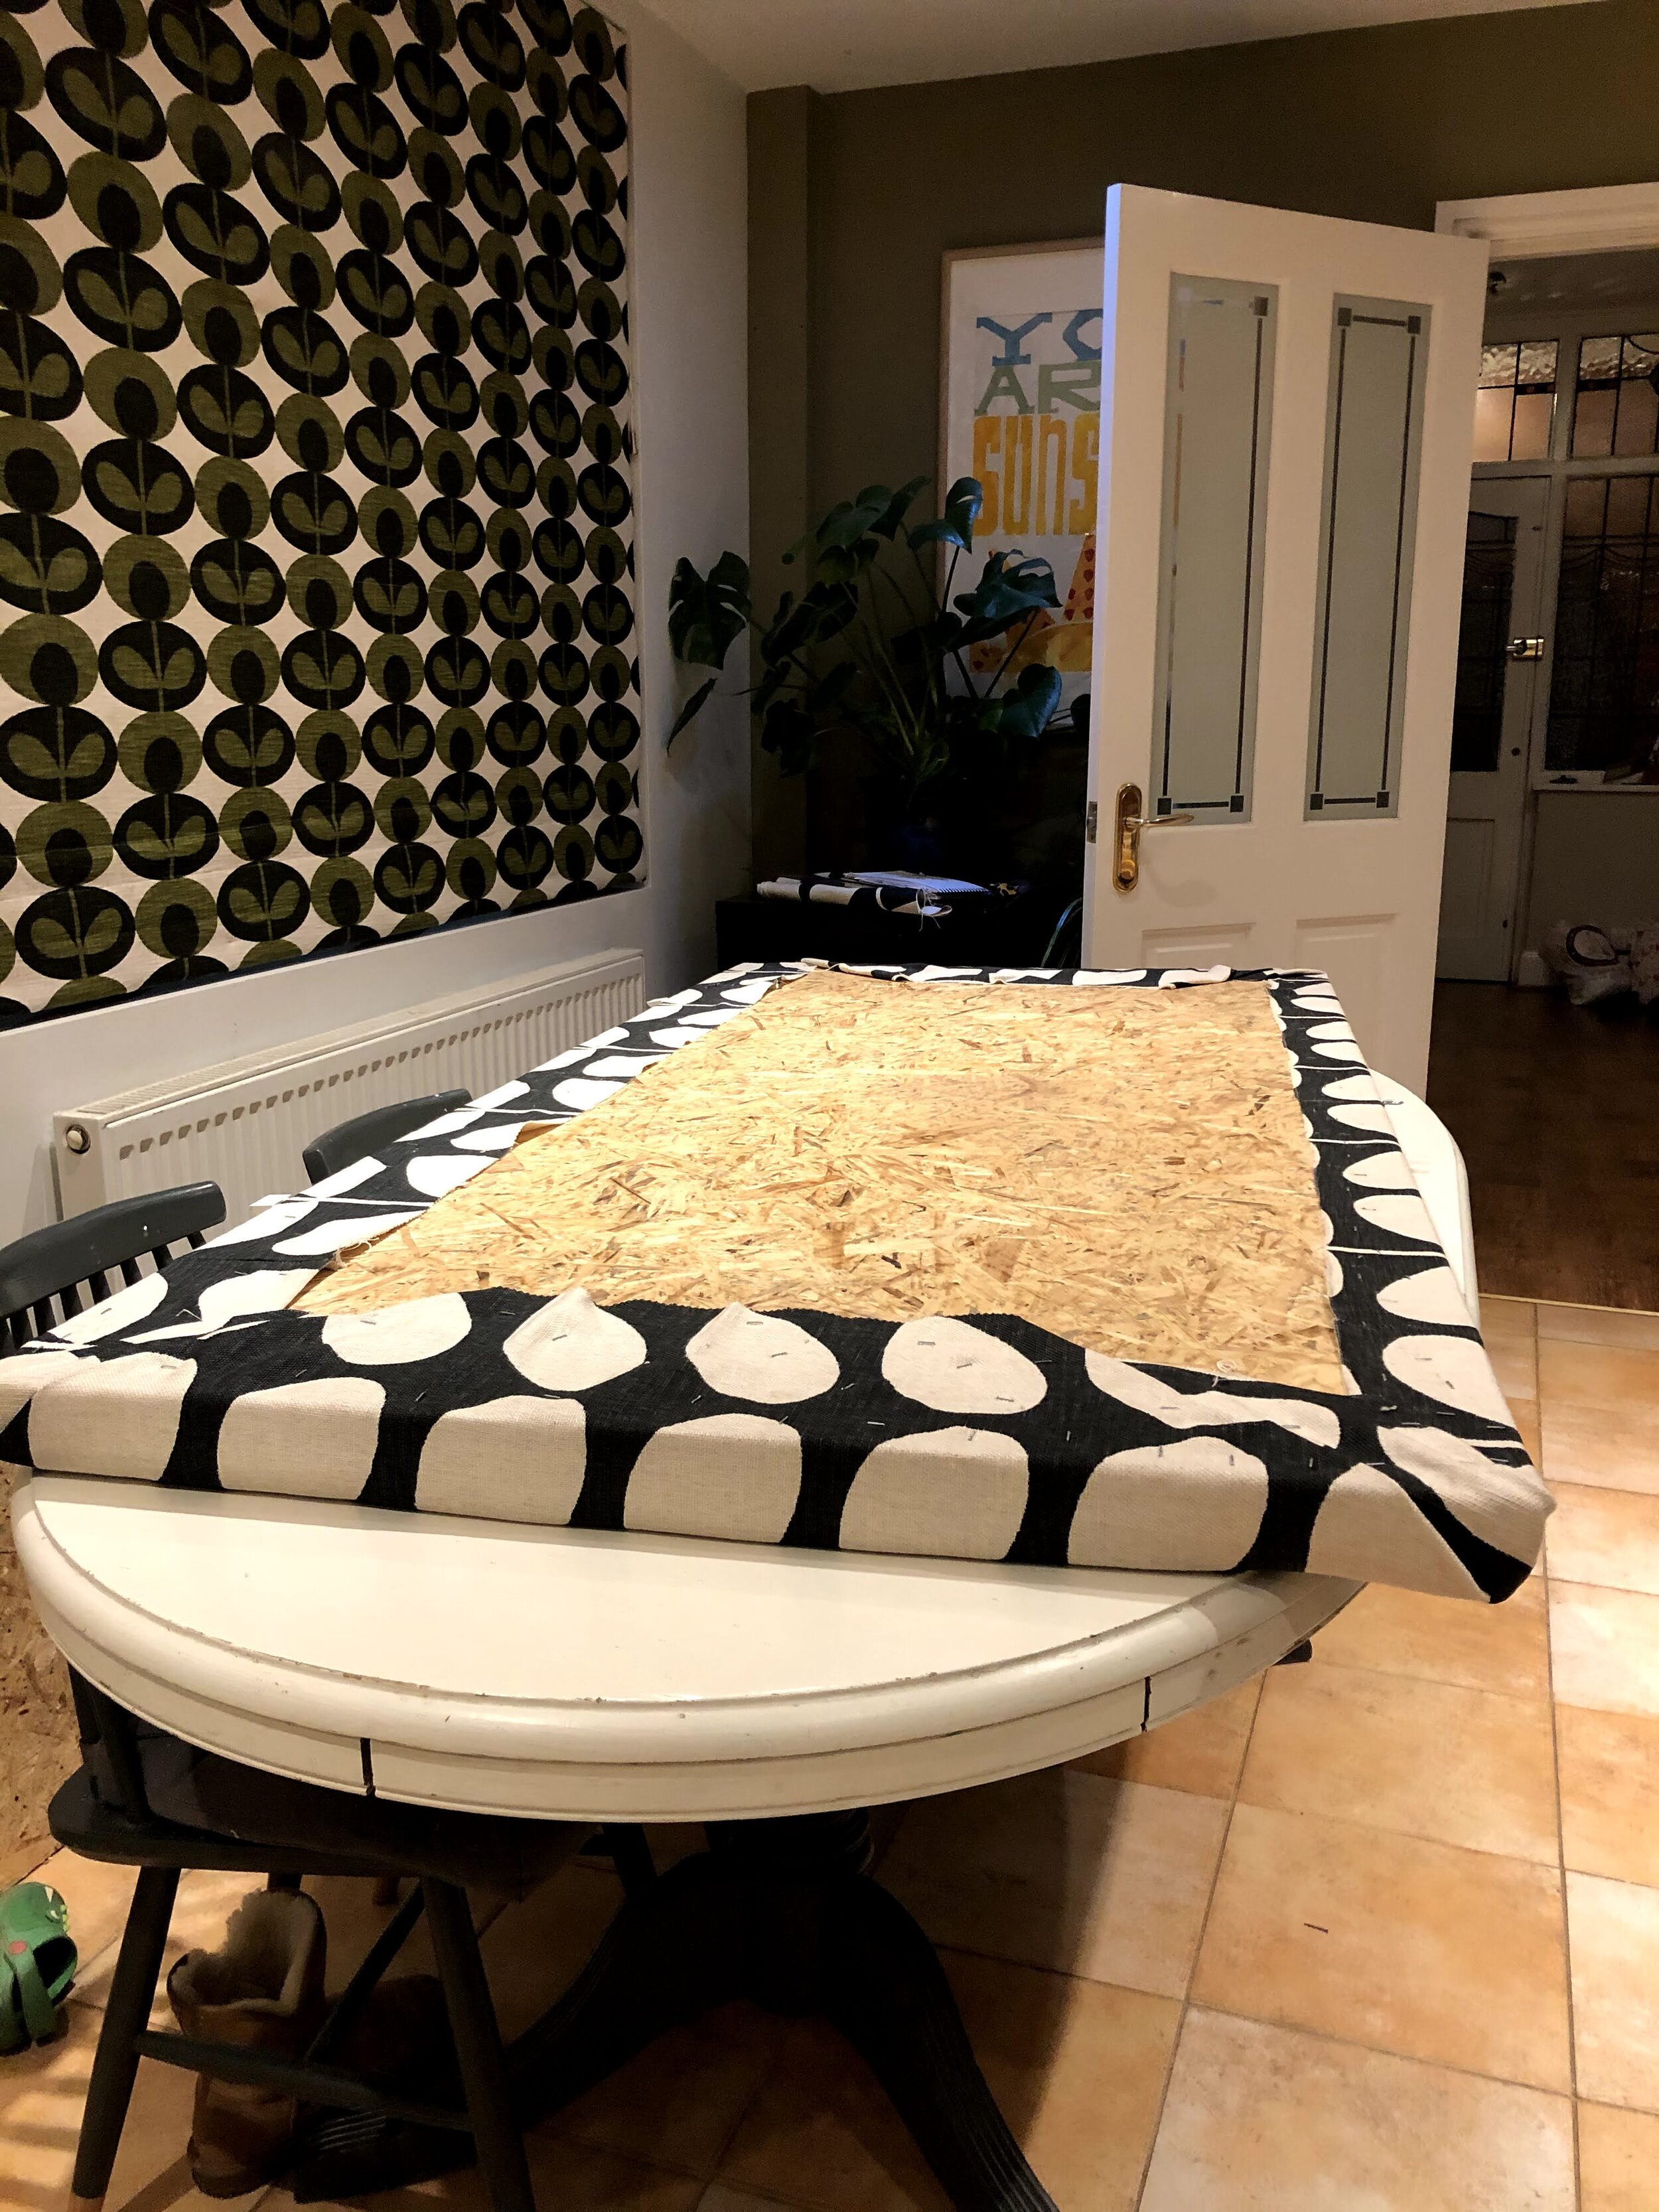
STEP 3- place the fabric on a large clean surface face down, place the foam onto making sure the centre of the foam matches the centre point on the fabric. Then place the wood onto.
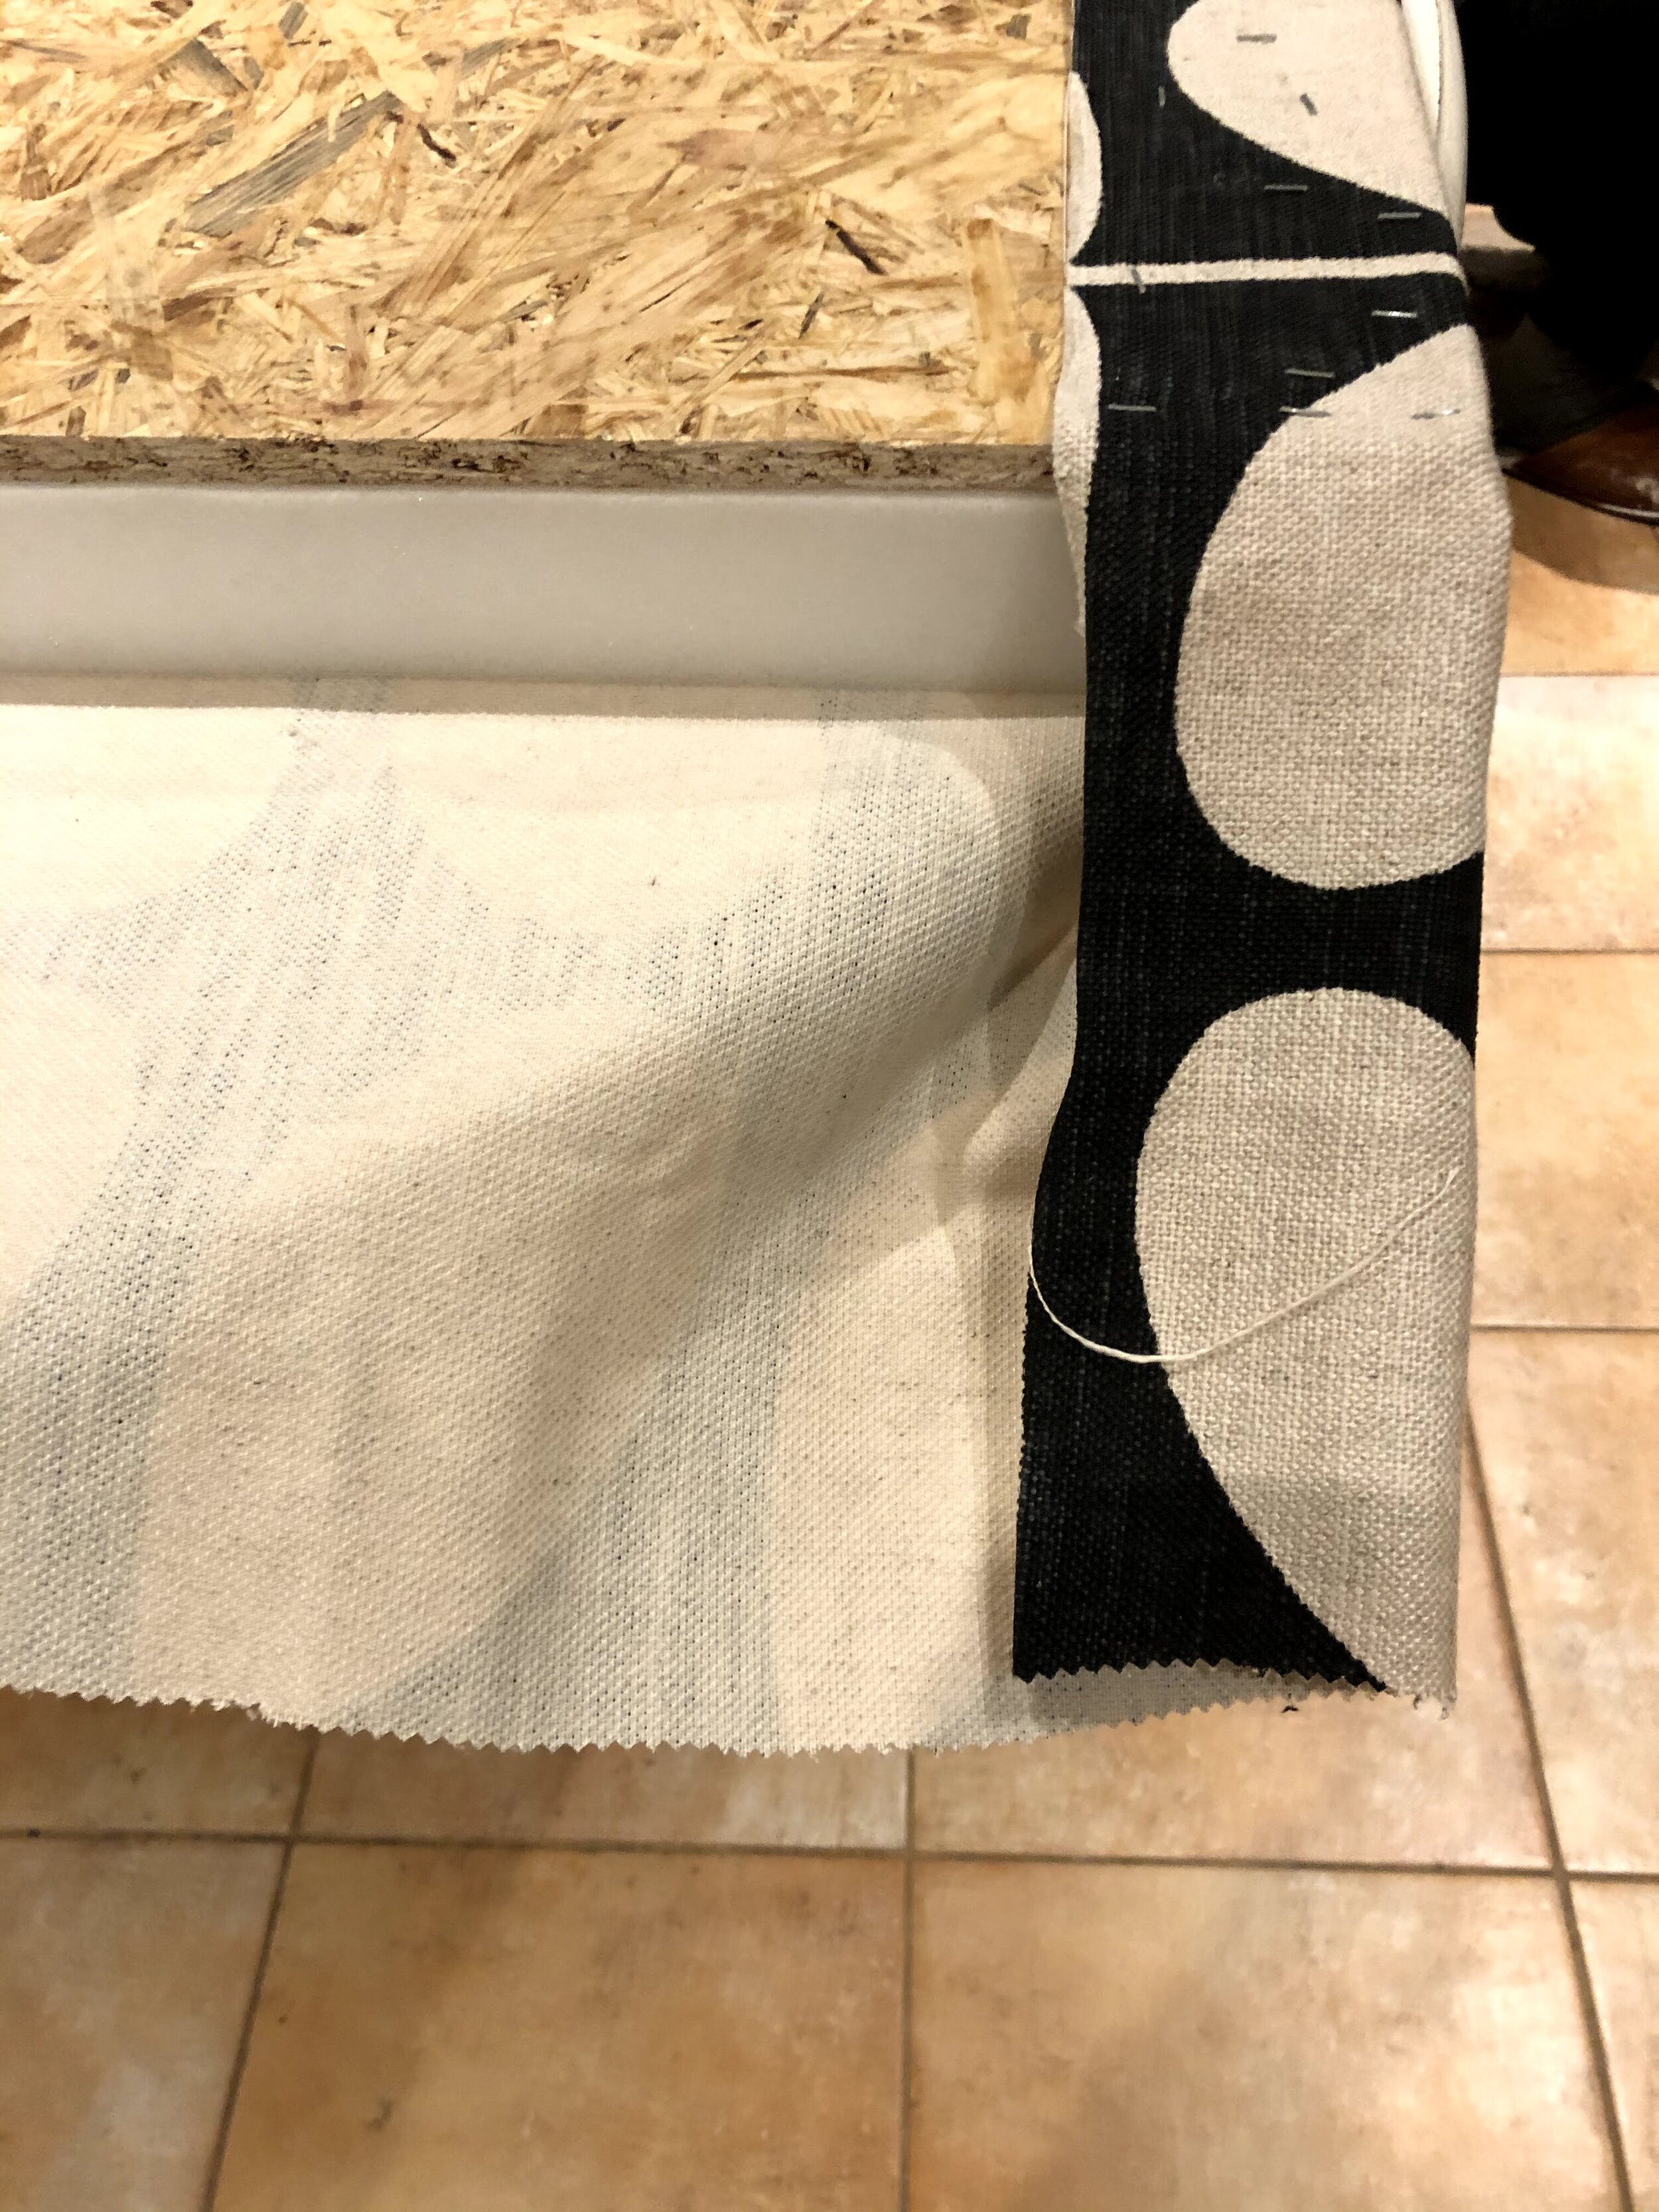
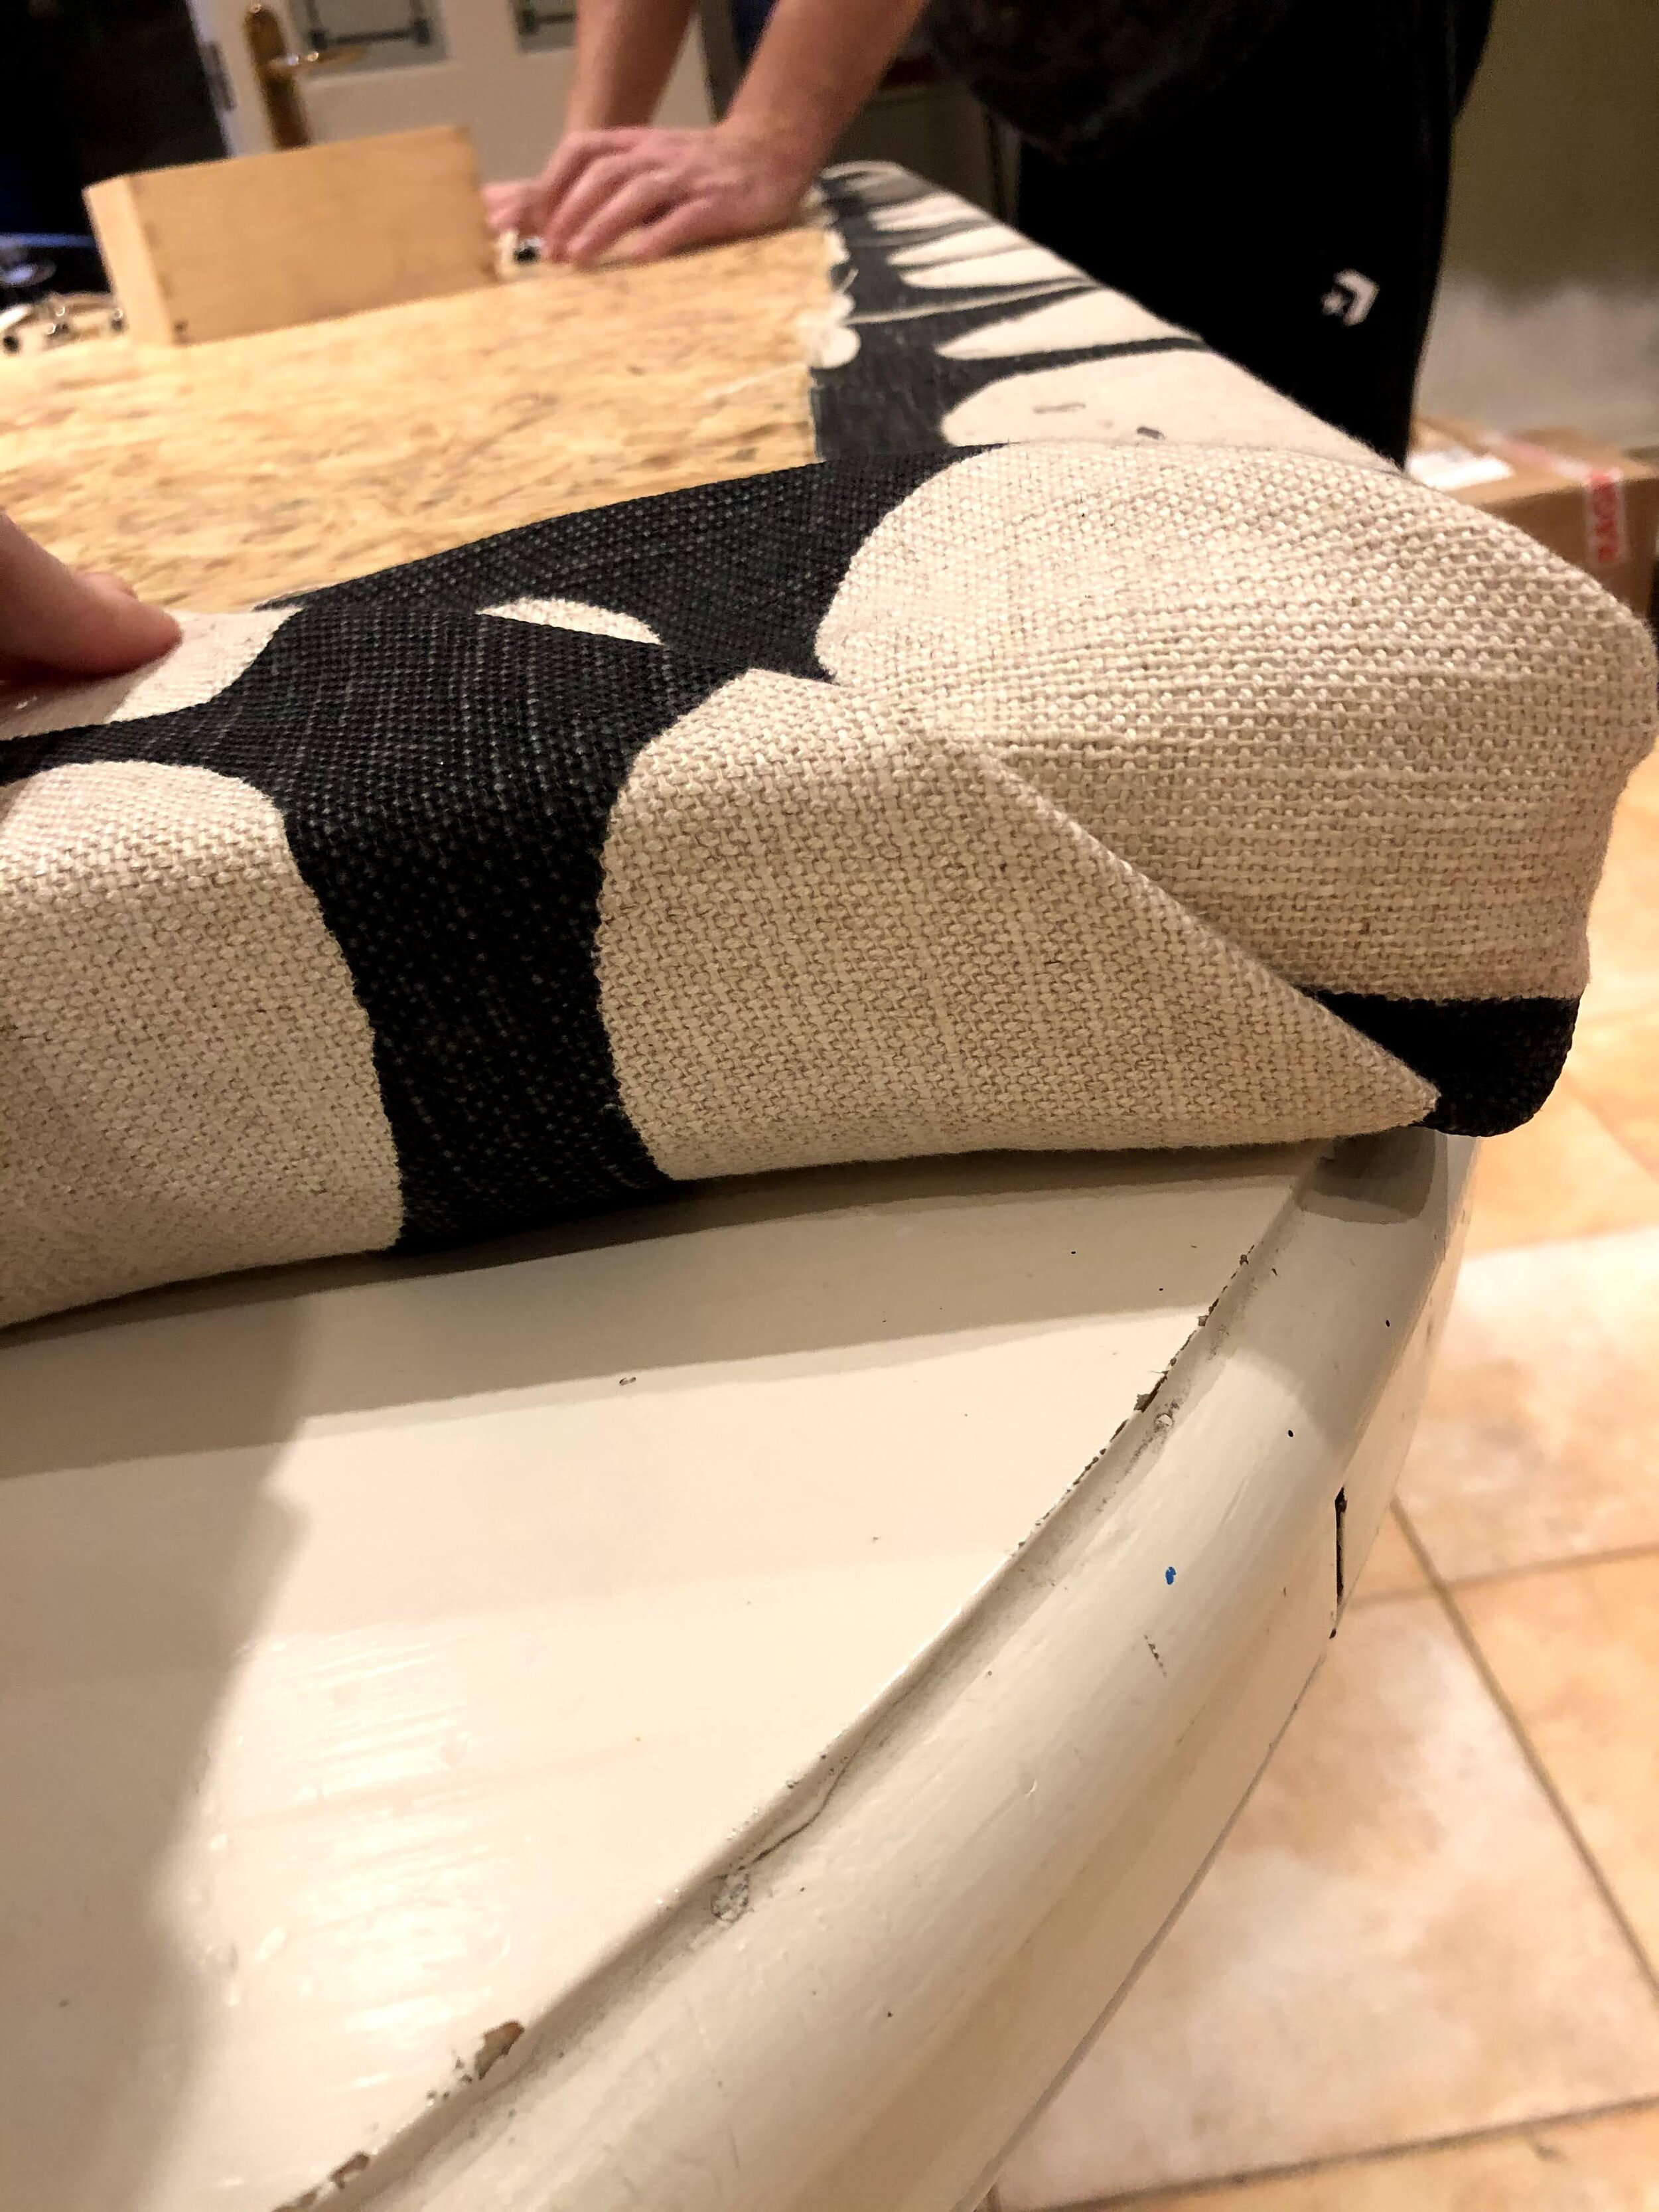
STEP 4- Pull the fabric gently around the foam and staple in place. Start with the top of the headboard and keep checking the line of the print is straight along the front. Then staple the bottom, then the sides.

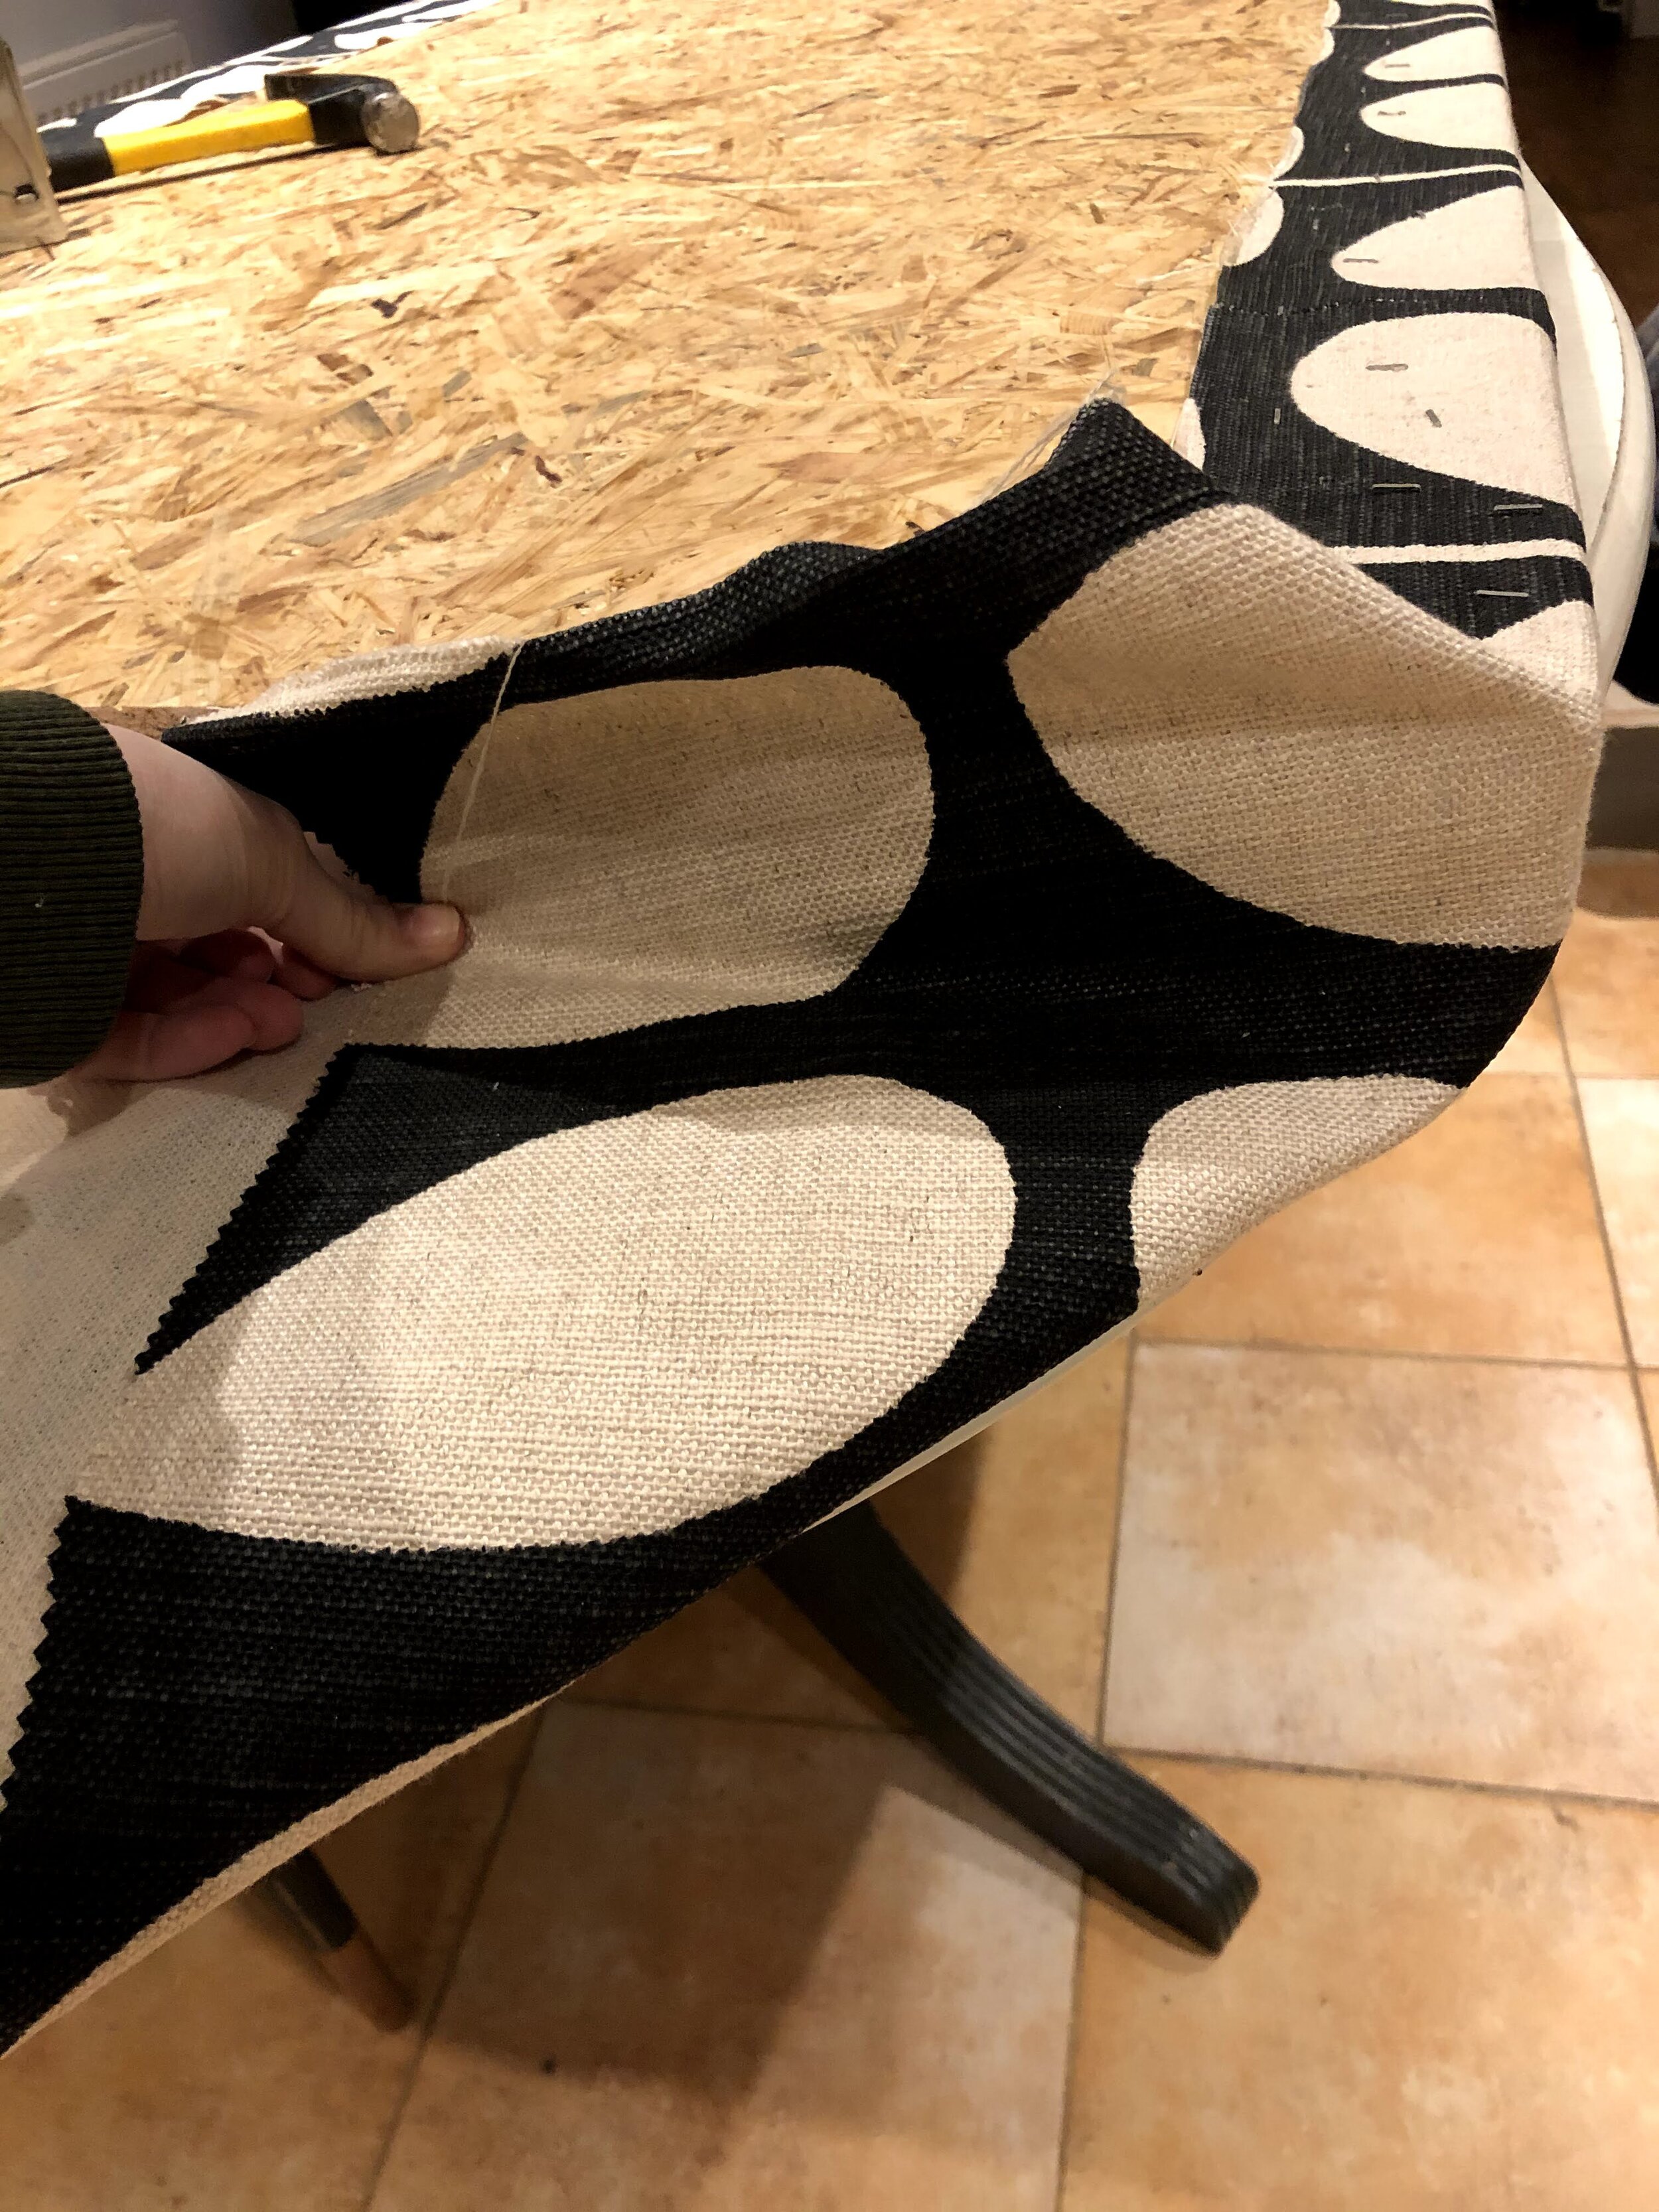
STEP 5- how I folded the corners
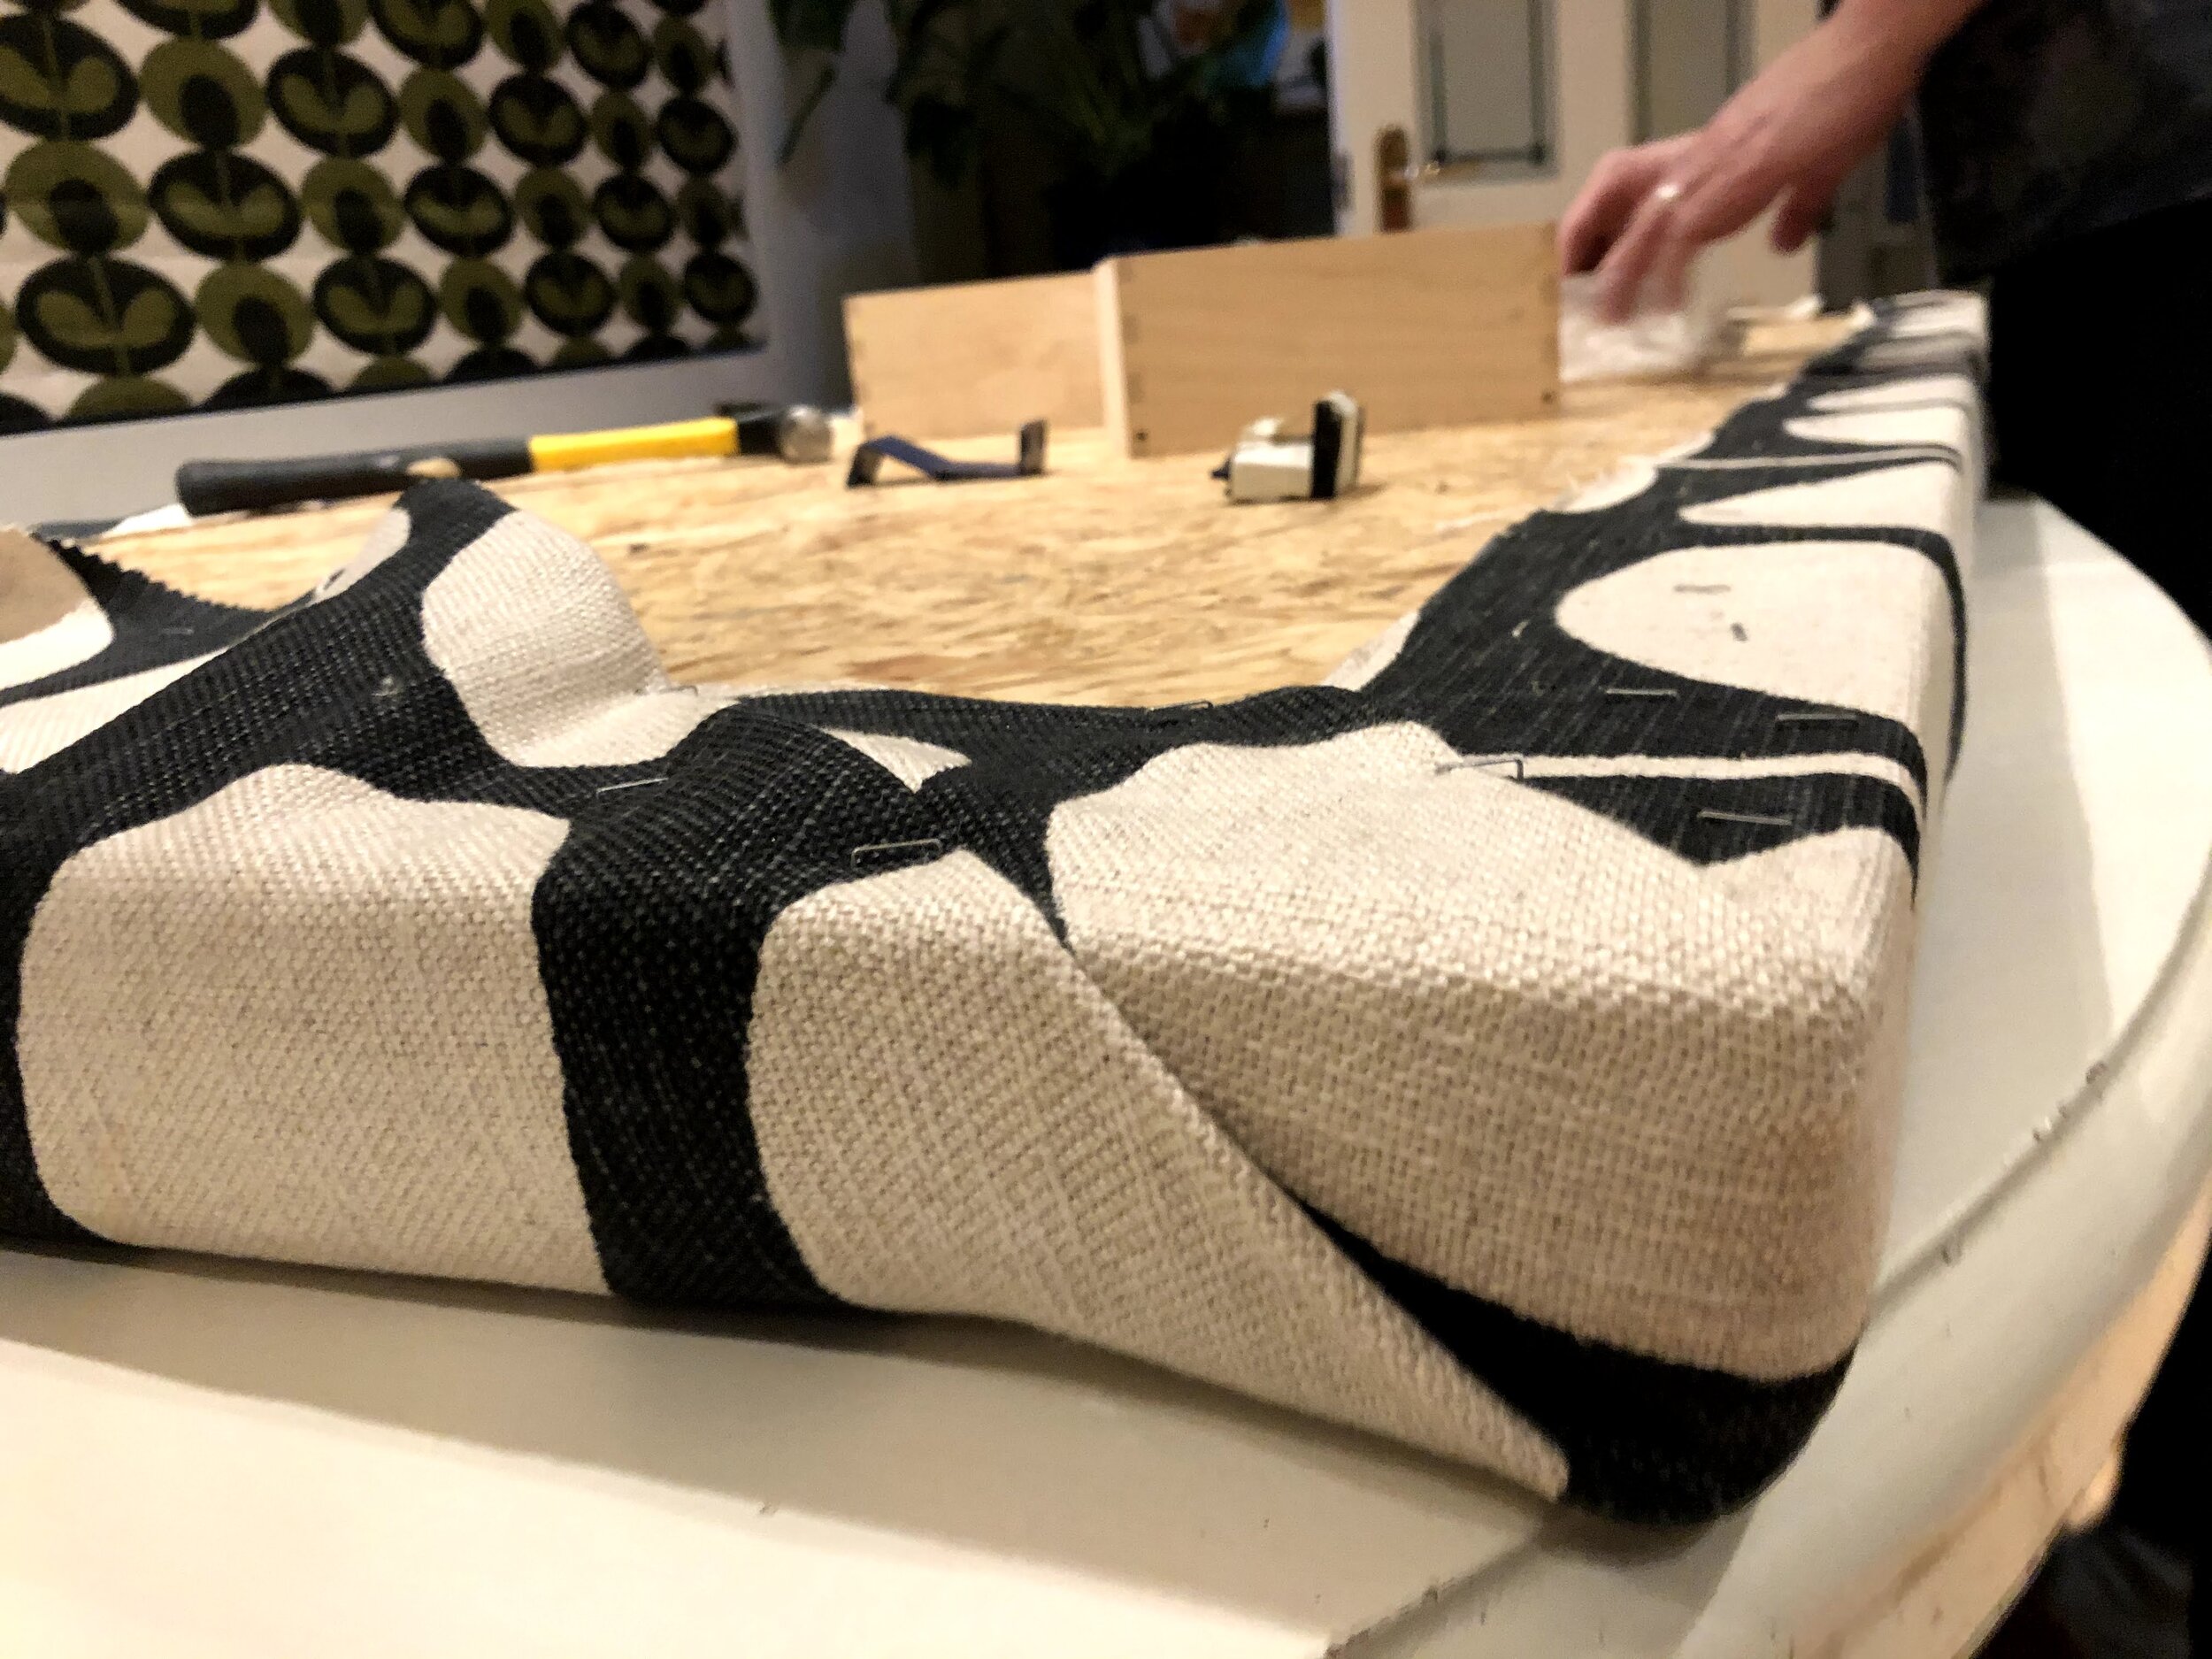
STEP 6- check the fabric tension is even across the headboard, not pulling to much or too slack. If you want to redo any any of the staples pull them out with a flat head screwdriver, adjust the tension and re-staple. Once you are happy with the tension every where hammer in the staples to secure them.
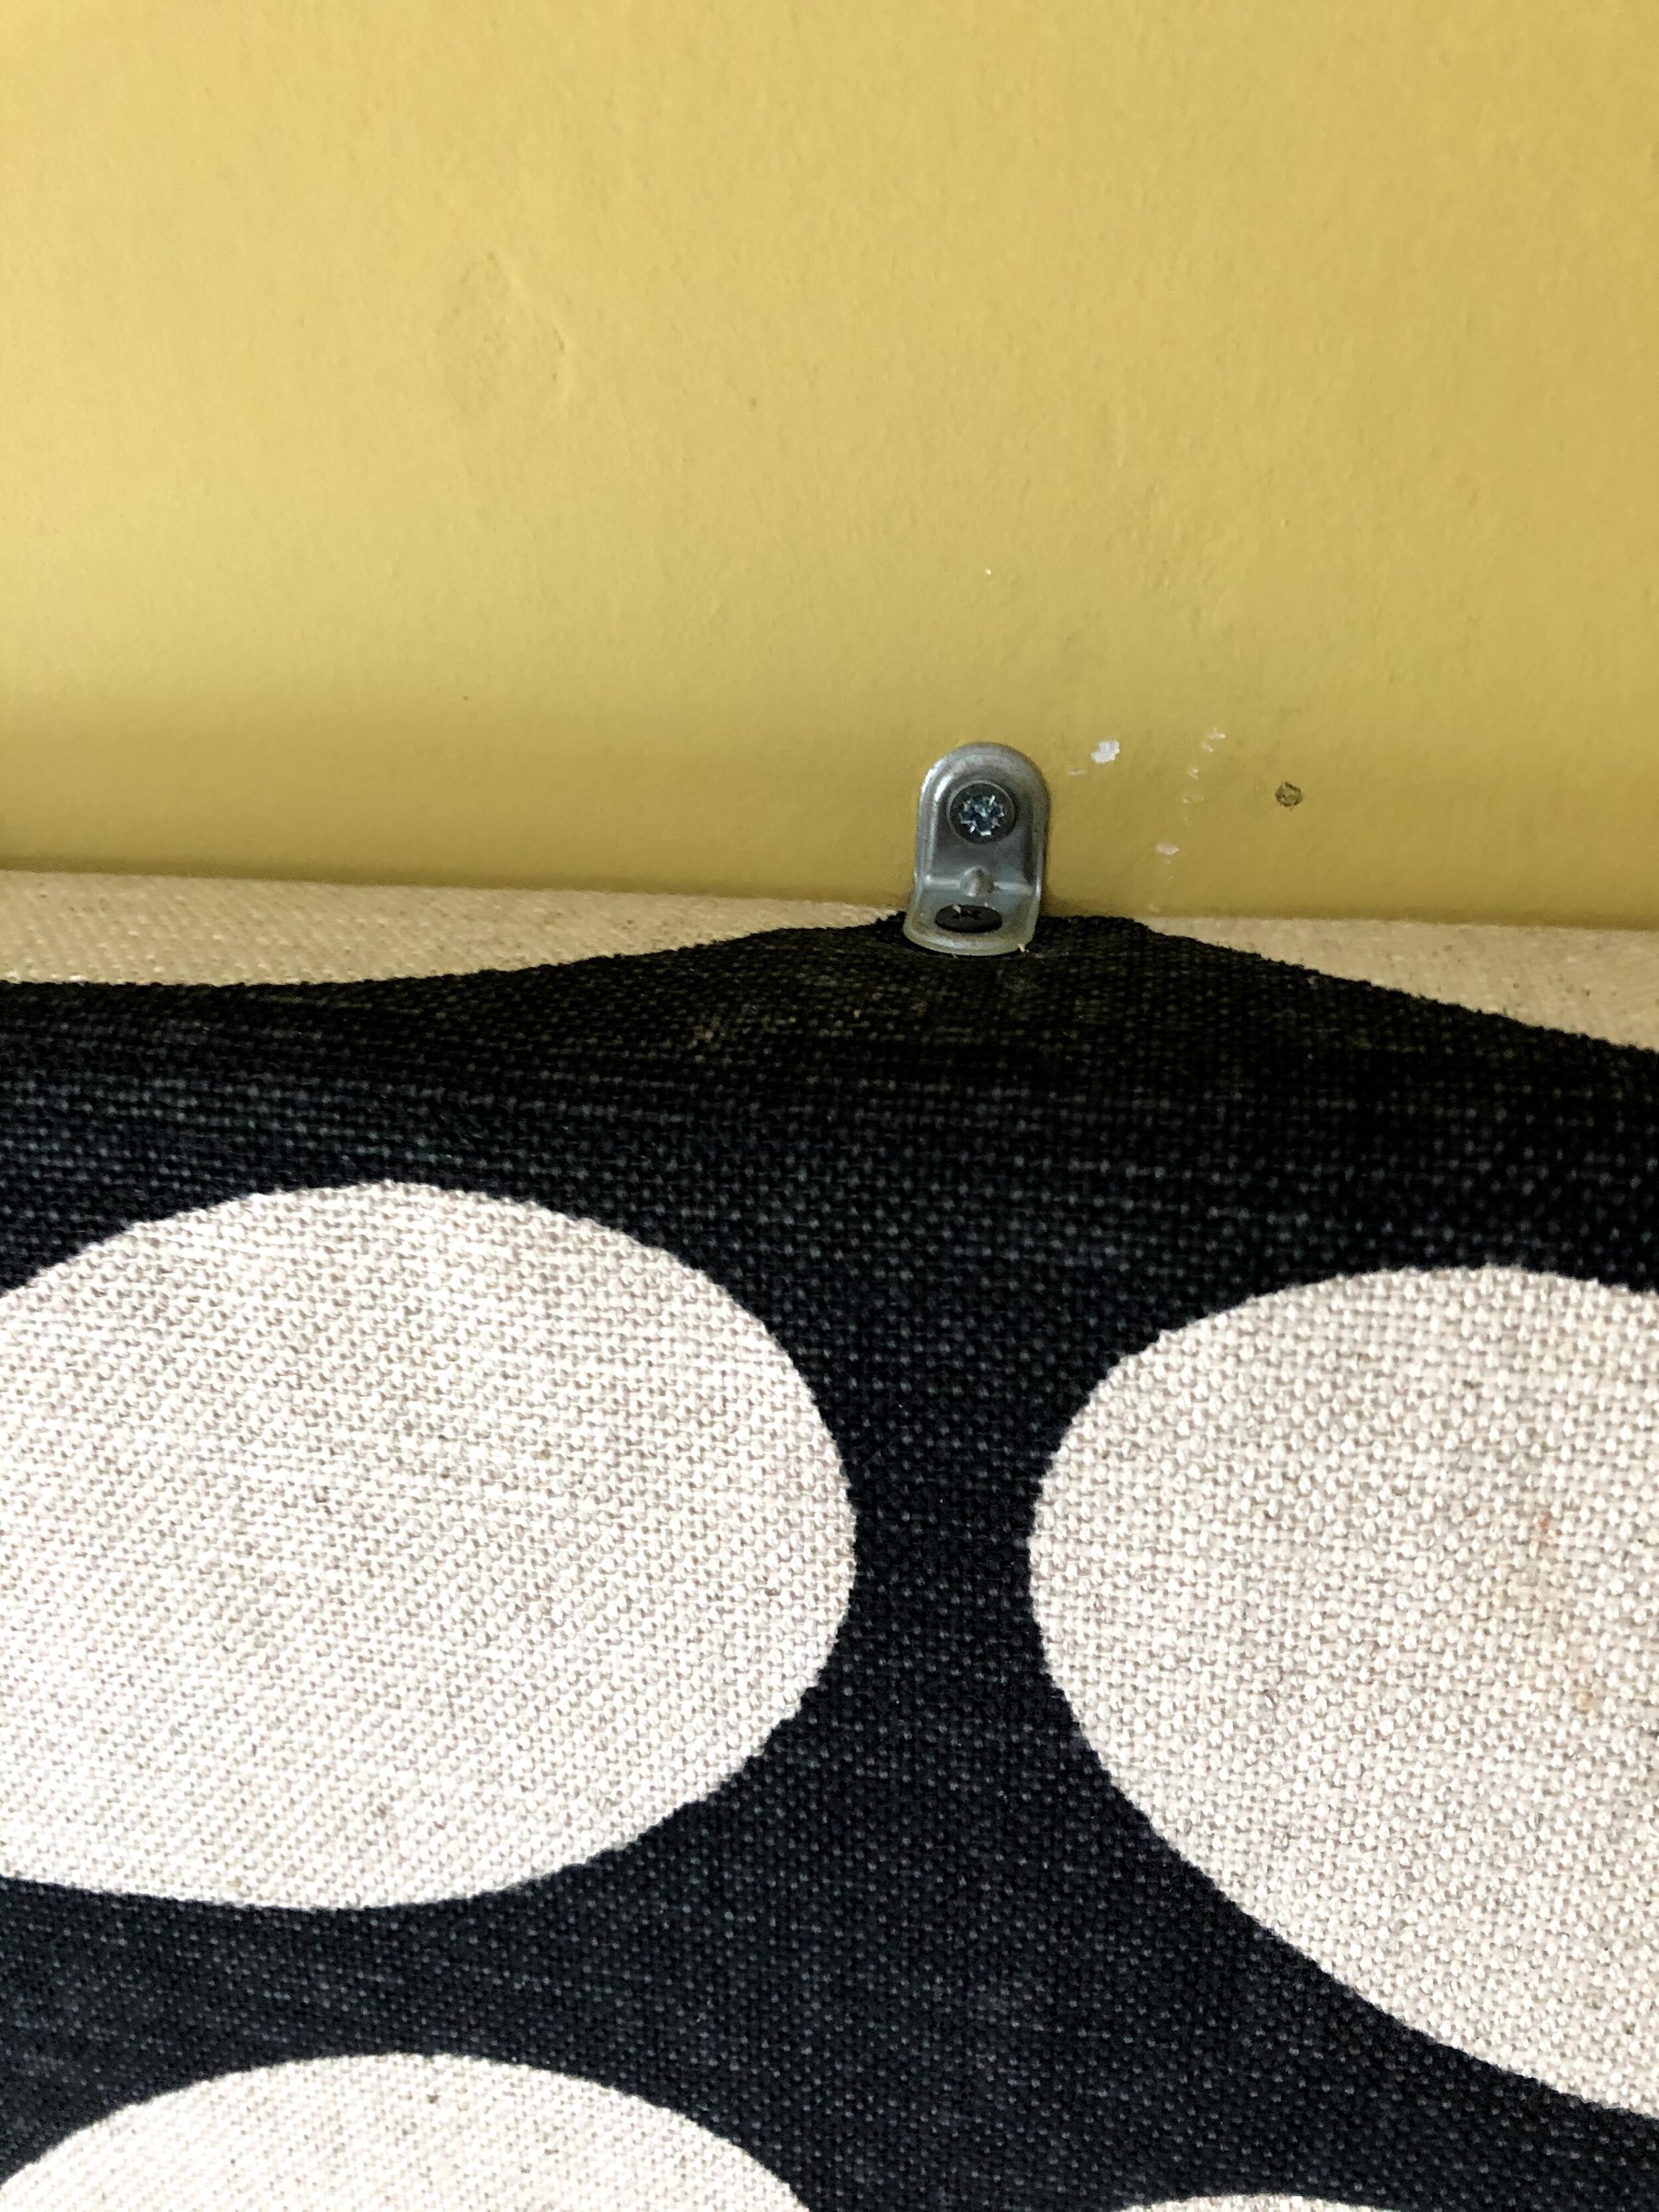
STEP 7- attach brackets to secure it to the wall. We attached one bracket to the top centre and two brackets to the base.
STEP 8- install your head board! Definitely a two person job, use a spirit level to check its straight. I placed ours slightly above the top pf our mattress so it doens’t get in the way of changing the linen.
Well done! If you use this blog to make a head board please share/tag me in images I love seeing your creations!